 For brand, packaging and category teams

See the pack on shelf before a single unit exists.

Turn one packshot or artwork render into facings, shelf sets, aisle context and finished pitch creative. Walk into the buyer meeting with the range already visualised, while the pack is still an artwork round.

Start free

Packaging and retail visualisation is the work of showing a pack in its selling context before that pack physically exists. DesignerBox handles the imagery side of packaging mockups and shelf visualisation. Give it an approved packshot, a photo of a hand-built mock-up, or a flat render of the artwork, and you get the pictures a buyer meeting runs on: one facing on a shelf, a block of six facings, the range in a chilled aisle lit the way that aisle is lit, the same pack on a kitchen worktop for the lifestyle slide. Work that used to need a printed mock-up, a studio day and a week of turnaround now fits inside a single artwork round. It is not planogram or space planning software. It makes the pictures.

What packaging and category teams come here to do

Four jobs that sit between an approved artwork round and the buyer meeting.

Put the pack on shelf

A pack reads differently in an aisle than it does on a white background. Build the shelf set: one facing, a block of facings, the row above and below, the competitor packs either side. You see the block break, the colour clash and the legibility problem while the artwork can still change.

Cover the whole range, not one hero SKU

Ranges get listed, single packs rarely do. Save the treatment once and run it across every flavour, size and format, so the twelve SKUs in a category review look like twelve members of one family rather than twelve separate shoots done on twelve different days.

Fill the sell-in deck

Buyer decks need more than a packshot. Hero frames, lifestyle context, the range wall, the launch campaign concept, the shelf-edge idea. Produce them from the same source image in an afternoon, and rebuild them the day the buyer asks to see a version carrying the promotional flash.

Hold the brand across every round

Save the palette, the logo files, the typefaces and a set of reference shots as a brand profile. Every image the team generates comes back inside those rules, so a visual made by the packaging designer and one made by trade marketing still look like one brand.

Four tools, pointed at your pack

Each one starts from an image you already have and returns something you can put in front of a buyer.

Product Ad Generator - Before
Before
Product Ad Generator - After
After
Product Ad Generator

Product Ad Generator

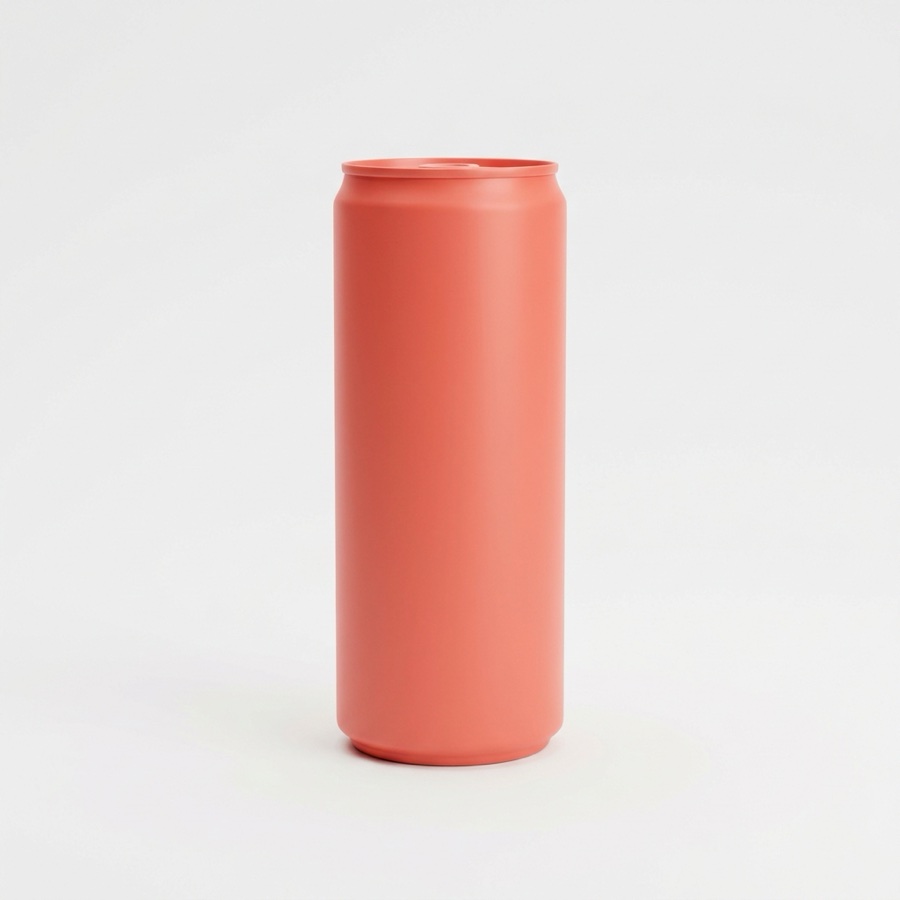
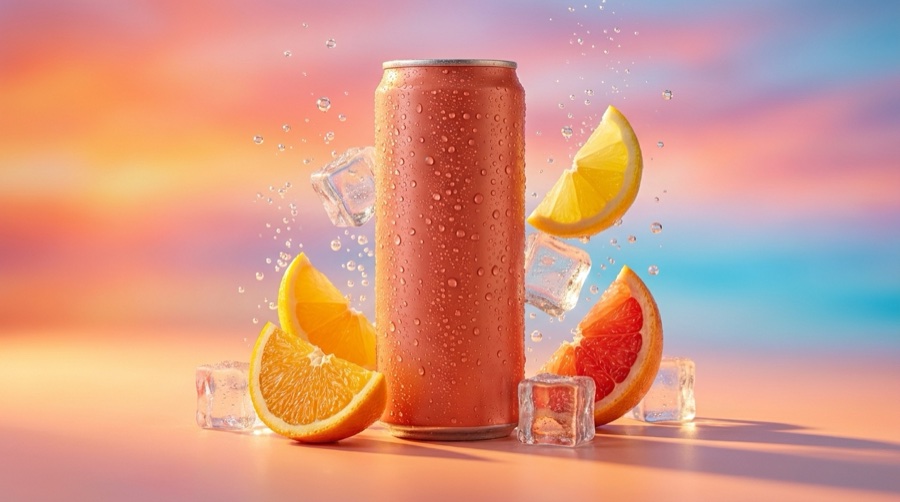
Feed it a packshot and it returns finished creative: the pack, the claim, a background built for the placement. Good for the deck slide that has to look like a real ad, the trade press page, and the launch post the week the listing goes live.

Open the tool
Photo Angles - Before
Before
Photo Angles - After
After
Photo Angles

Photo Angles

One photograph of the pack, every face you need. Front for the shelf mock-up, three-quarter for the deck cover, back-of-pack for the spec slide, top-down for the flat lay. When a buyer asks to see a side nobody shot, you send it the same day.

Open the tool
Styled Scene Generator

Styled Scene Generator

Place the pack where it gets bought or used: a chilled aisle, a wooden counter, a gifting table, a kitchen worktop. The scene is built around the pack rather than over it, so approved artwork stays exactly as approved.

Open the tool
Brand Visual Storyboard

Brand Visual Storyboard

Lay a launch idea out as frames before anyone commissions a shoot. A written concept becomes a sequence the category team, the agency and the buyer can all react to, and you can rework it in an afternoon instead of a fortnight.

Open the tool

Each before and after above demonstrates the tool named on the card, using that app's own sample image, so the subject you see may not be from this industry. Run the same tool on your own photos to see it on your work.

From artwork to the meeting in four steps

The same path whether it is one pack or a range of twenty.

1
Bring in the pack
Upload the approved packshot, a photo of a hand-built mock-up, or a flat render of the artwork on the dieline. One clean source image is enough, and a phone photo of a rough mock-up will do.
2
Set the brand rules once
Load the palette, logo, typefaces, tone and a few reference shots into a brand profile. Everything generated afterwards stays inside them, which is what keeps a range consistent across SKUs and across rounds.
3
Build the shelf and the scenes
Pick the angles, assemble the facing block, drop the range into an aisle, then produce the lifestyle frames and ad creative the deck needs. Review, adjust, regenerate the ones that miss.
4
Export for each surface
Pull the crops each place wants: deck slides, PDP images, marketplace listing sizes, trade and shelf collateral. When artwork moves at round three, rerun the saved workflow instead of starting again.

Where the images end up

Each surface wants something different from the same pack. DesignerBox produces the files, your team publishes them.

The buyer presentation and sell-in deck

A sell-in deck needs the pack shown three ways: alone as a clean packshot, in a shelf block against the competitor set, and in the situation a shopper buys it for. Build slides at 16:9 and keep a full-bleed version of every hero frame, because category review decks get printed as leave-behinds and reflowed into the retailer's own template.

The PDP and your own site

A product detail page carries the pack from click to basket, so it needs a square hero on plain white plus a scale shot, a back-of-pack detail and one in-use image. Shoot or generate the whole range to the same crop and the same lighting, or the grid on your category page looks like it was assembled from three different suppliers.

Marketplace listings with real specs

Marketplaces are strict about the first image. Most want the product alone on plain white, filling most of the frame, at least 1,000 pixels on the longest side so zoom works, with no added text, badge or border. Keep the claim, the size comparison and the lifestyle scene for the secondary slots, where treatments are allowed.

Trade and shelf collateral

Trade material sits outside the consumer campaign: a distributor one-pager, a trade press ad, a category review leave-behind, a gondola end or shelf-edge concept. Most of it prints, so generate hero frames large and uncropped, then hand them to whoever owns the print artwork. DesignerBox makes the imagery, not the dieline or the print-ready file.

Save the sequence, run it on every SKU

Most packaging work is the same handful of steps repeated across a range. Cut the pack out, correct the lighting, generate the angle set, place it in the shelf scene, export four crops. Save that sequence as a workflow and it runs on the next SKU, the next flavour, the next pack size, without anyone rebuilding it from memory. When artwork changes at round three, feed the new render in and the range regenerates instead of being redone by hand. Brand profiles sit underneath, so output holds palette and typography across everyone who touches it. There is an MCP server and an API too, if you want the same sequence triggered from the tools your team already works in.

Which model to point at a pack

Pack work punishes a weak model in an obvious way. The typography goes soft, the barcode turns to noise, the legal copy on the back becomes a smear, and the frame is unusable in front of a buyer. That makes model choice a real decision rather than a preference. DesignerBox covers the top image models under one subscription, so you can run the same pack through Nano Banana Pro, Nano Banana 2, GPT Image 2, Seedream 5, FLUX 2 Flex, FLUX Pro 1.1 and Kontext Multi, then keep whichever one holds your artwork. For motion, Veo 3.1, Sora 2 Pro, Seedance 2.0, Kling 2.6 Pro and Runway Gen-4.5 turn a shelf still into a short aisle pan for the deck. Test on your hardest SKU, the one with the most small print.

Packaging visualisation questions

What brand and category teams ask before the first pitch.

Can I show a new pack on shelf before it is produced?
Yes. You need one usable image of the pack, which can be an approved packshot, a photo of a hand-built mock-up, or a flat render of the artwork on the dieline. From that, DesignerBox builds the facing, the shelf block, the aisle context and the lifestyle scene. Nothing has to be printed or produced first, which is why teams use it during the artwork rounds rather than after them.
Does DesignerBox do planograms or space planning?
No. DesignerBox is an image and video tool, not category management software. It does not hold a store's fixture data, calculate space to sales, or produce a planogram file a retailer can import. What it does is visualise: how a pack reads as a facing, how a block of facings looks in the aisle, how the range sits next to the competitor set. Use it for the picture and keep your space planning tool for the plan.
Will the AI change my approved pack artwork?
It should not, and working from a real image of the real pack is how you make sure. Styled Scene Generator and Photo Angles build the surroundings, the lighting and the camera position around a pack you supply rather than redrawing the front of it. Check the small print, the barcode and any legal copy on every output before the file goes into a deck, and regenerate if a detail has drifted.
Do I need a physical mock-up and a photographer to start?
No. A flat render of the artwork, or a phone photo of a rough mock-up standing on a desk, is enough to begin. That is the point of doing this during the artwork round: the printed mock-up and the studio booking are the slow and expensive parts, and a concept that dies in internal review never needed either one. Book the photographer once the range is signed off and you know what to shoot.
Can I use these images on a marketplace listing or PDP?
Yes, as long as the image depicts the product a shopper will receive. Generated backgrounds, corrected lighting and styled scenes are ordinary practice on retail listings. A pack size, a claim, a flavour or a count the product does not have is not, and that is a compliance problem rather than a creative one. Most marketplaces also want the main image to show the product alone on plain white with no added text, so keep campaign treatments in the secondary slots.
What does it cost to visualise a full range?
Plans run from FREE at $0 with 112 credits a month, through BASIC at $15 with 500 credits, PRO at $35 with 1,000, PREMIUM at $75 with 2,500, and ULTRA at $200 with 8,000. Each generation spends credits, so a twelve-SKU range costs more than a single hero pack. Start on the free tier, put your hardest SKU through it, and size the plan from what that run takes.

Bring the shelf to the buyer meeting

Upload one pack image and have the shelf set, the aisle context and the deck frames before the end of the day. The free tier is enough to test it on your hardest SKU.

Start free