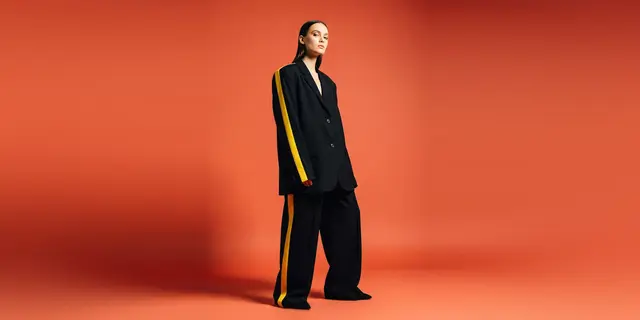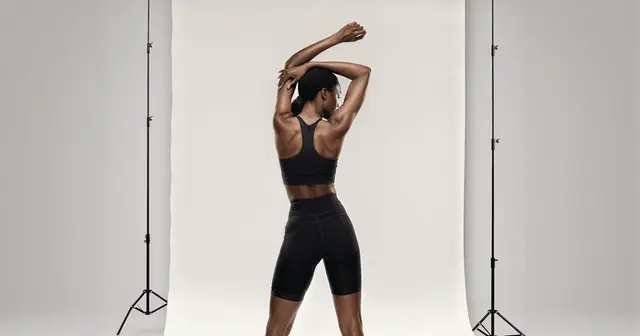

Print on demand product images start as a mockup, not a photograph, because the design and the blank only meet after somebody buys. Every seller pulls the same mockup from the same fulfiller library, so the difference has to be layered on top: one consistent shop look, your own settings instead of the stock library scenes, and at least one photograph of a real printed unit.
That order matters because the first layer is the cheapest and works hardest. A shopper forms an impression while browsing a grid, not while reading one listing, so a shop where every tile shares a ground, a crop and a grade reads as a brand before any single image is judged.
The second thing to get right is honesty. Because the image is a prediction, it is easy to make it predict something the print will not deliver: a color that will not hold, a placement that will not survive the print area, a fabric that is not the blank you selected.
Key Takeaways
-
The mockup is a claim, not a picture. It has to match what the printer will produce.
-
Shop-level consistency beats listing-level polish. Fix one ground, one crop and one grade, then apply the same three to listing one and listing five hundred.
-
Print color and screen color are different things. A saturated design on screen prints duller, especially on dark or heathered blanks.
-
Respect the print area. A design that looks right in a mockup can be scaled or cropped by the fulfiller’s actual print template.
-
Order one sample. A single real photograph of the real printed product outranks any mockup, and it is the only way to check the color.
Why do print on demand product images all look identical?
Print on demand product images look identical because the fulfiller supplies a mockup generator and everybody uses it as shipped. Printful and Printify both offer free mockup generators that place your artwork onto their blanks, flat or on models (printful.com/mockup-generator and printify.com/mockup-generator, September 2026). It is built in, instant and good enough, so it becomes the default. Template and 3D tools add more scenes, and apparel mockup software sorts 15 of them by the stage the garment is at.
The result is a category page where the only variable is the artwork. That is a hard place to compete, because the shopper cannot tell whether your shirt is better quality than the identical-looking one next to it at two dollars less. You have handed the entire comparison to price. Dropshipping stores meet the same problem with supplier files, covered in dropshipping product photos.
Keep the mockups. They are the correct base layer, and for a first listing they are entirely reasonable. Treat the fulfiller’s output as the starting point rather than the finished asset, and add the layers the library cannot supply: your own setting, your own consistent look across the shop, and at least one photograph of a real printed unit.
What makes a print on demand mockup misleading?
A print on demand mockup misleads in four ways, and they are ordinary mistakes rather than deception.

Color that will not print. Screens are additive and emit light; fabric printing is subtractive and absorbs it. A vivid design on your monitor prints noticeably duller, and the gap is widest on dark blanks, on heathered fabrics and in neon or deep-saturation ranges. A mockup rendered from your original file shows the screen color, not the printed one.
Placement the print area will not allow. Each blank has a defined print area, and it differs by garment and by size. A design that reaches edge to edge in a mockup may be scaled down or repositioned by the fulfiller’s template on an actual small or an actual 3XL.
The wrong blank. Mockup libraries and product catalogs do not always correspond one to one. Compositing onto a heavyweight tee mockup while ordering a lightweight blank shows a drape and a texture the buyer will not receive.
Implied finish. Embroidery renders, puff print effects and metallic finishes shown in a mockup are a promise about a production method. If you have not selected and paid for that method, the image is claiming something the order will not include.
None of these are exotic. All four are the general product-listing rule applied to a predicted object: the image has to match what ships.
How do you differentiate without holding the product?
Layer three things on top of the fulfiller’s base mockup, in increasing order of effort and payoff.
One, a consistent shop look. Same ground, same crop, same grade across every listing. This is the cheapest difference available and it works at the shop level rather than the listing level, which is where a browsing shopper forms an impression. Write the three values down as a rule the whole shop follows, so listing five hundred matches listing one without anybody remembering how listing one was made. Keeping images consistent across a catalog covers the discipline.
Two, your own settings. A flat-lay mockup lifted onto a styled surface, or a garment placed in a context that suits the design’s audience. The fulfiller’s library gives every seller the same studio and lifestyle scenes (printful.com/mockup-generator and printify.com/mockup-generator, September 2026). Your own settings are the part nobody else has. In DesignerBox, a product scene template and a garment flat lay template do this from the mockup file. DesignerBox for solo founders shows this setup for a one-person brand.
Three, a photograph of a real printed unit. This is the one that separates a shop, and it is why sampling matters. A real photograph shows the true print color, the actual fabric texture and the genuine drape, and it is the only asset in your listing that is evidence rather than prediction.
Order one unit of your best-selling design on your most-used blank. That single sample gives you a truthful hero image, tells you whether your colors hold, and lets you check the print quality you are putting your name on. From that one photograph you can derive angles and settings the same way any product seller does, for example with a multi-angle template.
What about AI-generated designs and images?
AI-generated designs and AI-made listing images are two separate questions, and they have different answers.
The design. Whether AI-generated artwork may be sold on a given marketplace is a platform-policy question. Etsy, for example, says that if an item is created with AI, you must disclose this in your listings (Etsy Seller Policy, September 2026). For Amazon Merch on Demand, Redbubble or any other channel, check the platform’s rules before you list. Do not rely on a summary in a blog post, including this one. AI tools for print on demand compares the rules on Etsy, Amazon Merch on Demand, Redbubble and TeePublic, and the tools that make the design and its print file.
The listing image. Restaging a mockup, changing its background or building a scene around it is ordinary presentation work, on the same terms as any product photography: the object shown must match what ships. Generating a “photograph” of a printed product that has never been printed is a prediction dressed as evidence, which is the thing to avoid, especially in your main image.
There is a third item worth flagging because it is easy to miss. If your listing image contains a realistic AI person, disclosure rules may apply depending on your market, and they are separate from any design-provenance rule. In the EU, Article 50(4) of the AI Act requires whoever publishes a deep fake to disclose it, and a realistic invented person can count as one (European Commission FAQ, September 2026). This is general information, not legal advice. Labeling AI-generated fashion images covers the current position.
Etsy’s mockup rule is a photography rule. Etsy requires original photos of the actual product. It does not accept renderings or stock photos in their place. It lists two exceptions: computer-made mockups in extra images for personalized items, and stock photo mockups for print-on-demand designs (Etsy listing image requirements, September 2026).
Which images should a print on demand listing have?
Five slots, in priority order, which holds across most marketplaces even where the maximum count differs.
- The clearest view of the design on the blank. Front, straight on, correct color. This is the tile in every grid.
- A real photograph of a printed unit, if you have sampled. Put it second and say in the description that it is an actual print.
- A color or size range shot if you offer variants, so the buyer sees the option they want.
- A detail crop of the print itself, showing the texture of ink on fabric. This is the shot that answers “will this look cheap”.
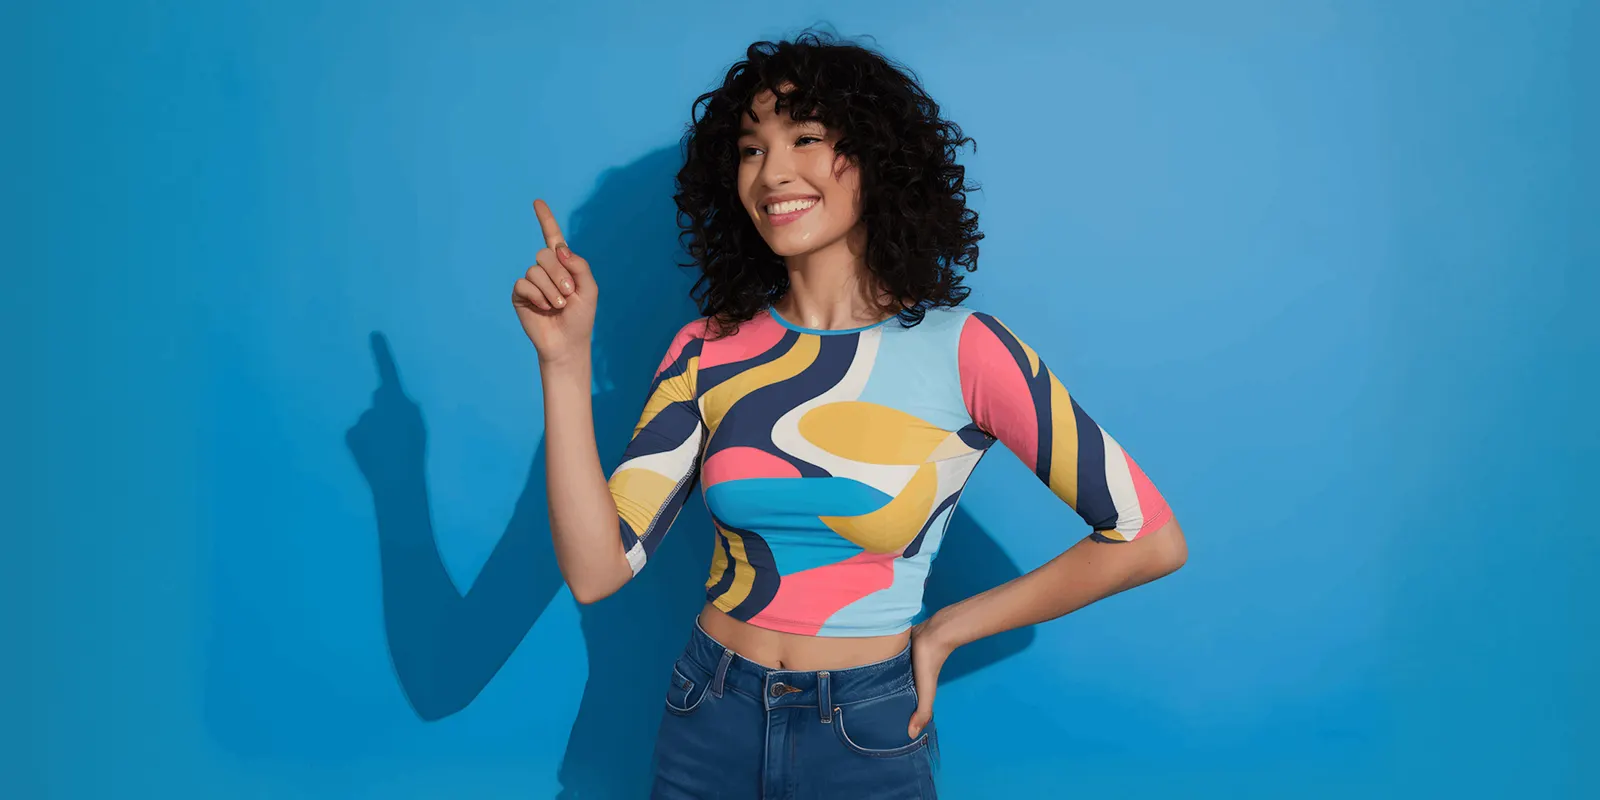
- A context or styled shot that says who the design is for.
Slots two and four address the buyer’s actual hesitation, which is print quality rather than design. A shopper who likes your artwork already knows they like it from slot one. What they do not know is whether it will arrive looking like a decal.
For a marketplace-specific breakdown of how many slots each channel gives you and what it expects in them, what each marketplace shows covers the counts, and Etsy product photos covers that platform’s presentation conventions in particular.
What does this cost?
Not much, because the base mockup comes with the fulfiller and the differentiating layers are the cheap part. In DesignerBox, restages cost credits, and the cost depends on the model the workflow uses. The cost of each run is shown before the run. So restage two listings first, check the results, and then decide about the rest of the shop.
Two gates decide the plan before anything else. The commercial license starts on the Pro plan, so Pro is the realistic floor for a live shop. AI video and virtual try-on start on the Premium plan. Plans and credits are on the pricing page.
There is a free plan, so you can see how a run works before you pay. Uploading your own photos starts on the Pro plan. If your test runs use more of the monthly allowance than the shop can afford, pick a model with a lower cost per run, or change plans. The plan decision then rests on your own numbers.
The spend that returns most is samples. One unit per blank you sell on, ordered once, tells you the true color behavior, the fabric and the print quality, and gives you a real photograph for every listing using that blank. On a shop selling three blanks that is three orders total.
First steps
Sample one blank, photograph it once, and set your three shop values against that photograph: one ground, one crop, one grade. Then run those same three across the rest of the catalog instead of restyling listing by listing. In DesignerBox that is one saved workflow, and it runs the same way on the next listing. Anyone can make an AI picture. Making hundreds that still look like your brand is the hard part.
The full workflow from the first product photo to the finished ad, in one subscription. The listing image and the ad clip for the same design sit in one place. The page for ecommerce brands shows how that fits a store, and AI product photography shows the restage step. If you also run your own storefront alongside the marketplace, WooCommerce product photography covers the sizing there.
Start from a template: get started free.
FAQ
Are mockups allowed on print on demand listings?
On Etsy, yes, with limits. Etsy requires original photos of the actual product, and it lists stock photo mockups for print-on-demand designs as an exception (Etsy listing image requirements, September 2026). Other marketplaces differ, and some treat the main image and later slots differently. Check each platform’s current policy. The image must always match what the buyer receives.
Why does my print look duller than the mockup?
Because a screen emits light and fabric absorbs it. Saturated colors lose the most, and the gap widens on dark and heathered blanks. Mockup generators composite your original file, so they show screen color rather than print color. Ordering one sample is the only reliable way to learn how your palette behaves on a given blank.
Should I photograph a real printed sample?
Yes, at least once per blank you sell on. It is the only image in your listing that is evidence rather than prediction, it shows the true color and fabric, and it doubles as a quality check on the fulfiller you are trusting with your customers.
Can I use AI-generated designs for print on demand?
That is a platform-policy question. Etsy, for example, requires you to disclose an item created with AI in the listing (Etsy Seller Policy, September 2026). Read the current policy of the marketplace you are listing on. Separately, if a listing image shows a person, market-specific AI disclosure rules may also apply.
How do I make my print on demand shop look different?
Fix one ground, one crop and one grade across every listing, then add settings the fulfiller’s library does not contain. Shop-level consistency does more than any single improved image, because the shopper’s impression forms while browsing rather than on one listing.
What does restaging a print on demand catalog cost in credits?
The model the workflow uses sets the cost, and DesignerBox shows the cost of each run before the run. Fifty listings at two images each is 100 runs.
What is the most common print on demand image mistake?
Showing a design filling more of the garment than the fulfiller’s print area allows. It looks fine in a generator and then arrives scaled down, particularly at the extremes of the size range. Check the actual print template for each blank and size rather than trusting the mockup’s framing.
Sources
- Etsy Seller Policy: https://www.etsy.com/legal/sellers/
- Etsy Listing Image Requirements: https://www.etsy.com/legal/policy/listing-image-requirements/253962679005
- European Commission, Transparency obligations under Article 50 of the AI Act (FAQ): https://digital-strategy.ec.europa.eu/en/faqs/transparency-obligations-under-article-50-ai-act
- Printful mockup generator (printful.com/mockup-generator), September 2026
- Printify mockup generator (printify.com/mockup-generator), September 2026
- DesignerBox pricing page (designerbox.ai/pricing), September 2026
This guide covers commercial practice and the general accuracy obligation on product listings. It is general information, not legal advice. Marketplace rules on mockup imagery and AI-generated designs vary by platform. Etsy’s AI disclosure and mockup rules are as of September 2026. For every other marketplace, check the current text on the platform itself before listing.