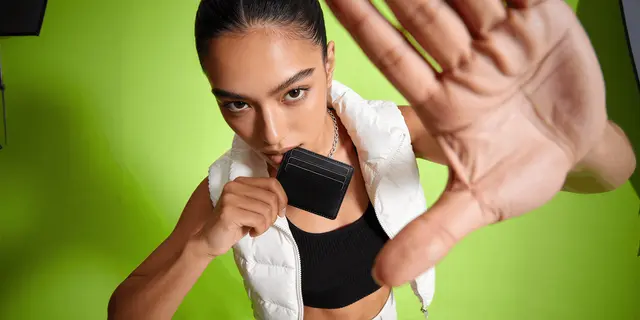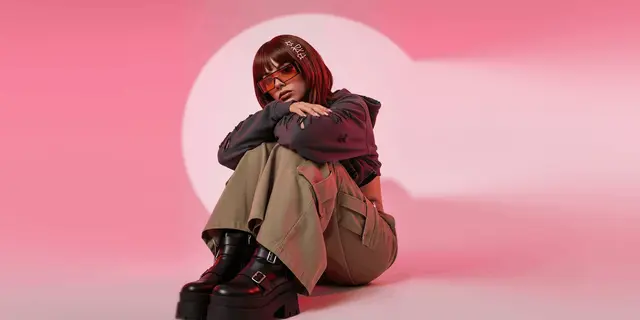


Vintage clothing photography is product photography for one-of-one secondhand garments, and each item needs two photo sets. Styling shots sell the piece. Condition shots prove what it is. Before any styling, shoot six frames: front, back, the maker’s label, the size or care tag, a construction detail, and one frame per flaw. Correct the light, and never edit the wear.
Vintage clothing photography breaks the basic rule of product photography. A brand photographs one sample because every unit is identical. You are photographing the only one that exists, in the exact condition it is in, and your photographs are the evidence a buyer will hold you to.
That changes what a good photograph has to do. In brand photography the job is to make the product look its best. In vintage the job is to make the garment look its best and prove what it is: the fade, the repair, the shortened hem, the union label that dates it. Those two goals conflict on every item, and the resolution is a split: styling shots do one job, condition shots do the other, and you never let one do the work of the other.
This is a workflow for photographing one-of-one stock at the pace resale runs, and being precise about where correcting a photograph ends and misdescribing a garment begins.
Key Takeaways
-
Two photo sets per item, always. Styling shots sell it. Condition shots protect you. They are shot differently and edited differently.
-
Age is the product, not a defect to hide. A dated garment described accurately is worth more than the same garment photographed to look new.
-
Never edit condition. Pilling, fading, marks, repairs, alterations and missing parts stay in frame, untouched beyond a crop.
-
Color accuracy is a legal exposure, not an aesthetic one. A cream knit that photographs beige is a “not as described” case in waiting.
-
Shoot the labels. The maker’s label, the union or care tag, and the size tag are what let a buyer date and authenticate the piece.
-
One ground for the whole shop. Depop’s 2020 seller photography guide said its most successful sellers kept consistent poses, backdrops and lighting across the shop.
-
Restaging is presentation. Restoration is misdescription. That is the whole line.
Why is vintage clothing photography different?
Vintage clothing photography differs from ordinary product photography for three structural reasons, and each one changes a step in the process.
Every item is a sample size of one. There is no second unit to reshoot if you get it wrong, and no catalog image to use instead. Whatever you capture is the entire visual record of that garment. Small-run and deadstock labels face a close version of this problem, which sustainable fashion photography covers.
Condition is a priced attribute. On new stock, condition is assumed and does not appear in the photographs at all. On vintage it is a major driver of price, and buyers zoom in specifically to assess it. A listing that hides it invites a return instead of a sale.
Age carries the value. A 1970s jacket is worth what it is worth because it is from the 1970s. The construction details, the label typography, the way a fabric has softened are the evidence for the claim your price is making. Photographing them out is deleting the reason for the price. Outerwear is the sharpest version of this, because the hardware is the dating evidence, and photographing a jacket covers the frames that carry it.
That last point is the one most sellers get wrong on their first hundred listings. They edit toward “clean”, the way new product is photographed. They end up with images that look nice and prove nothing.
What are the two photo sets?
Split every item into a styling set and a condition set before you touch the camera. They have different rules.
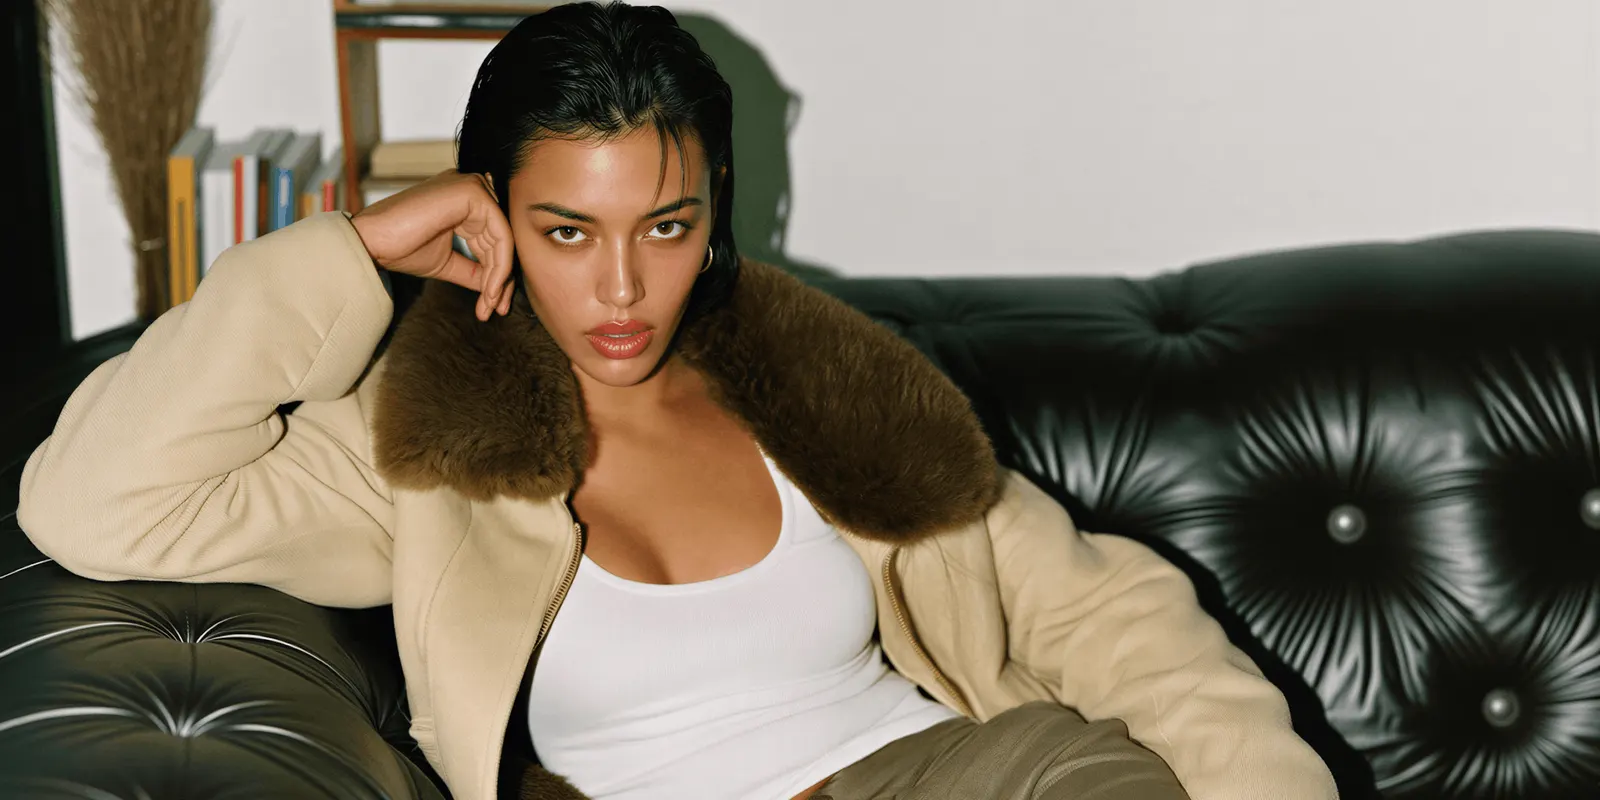
The styling set is what makes someone stop scrolling. Consistent ground, consistent light, garment presented well: flat lay, hanger, dress form or on a body. This is where you are allowed to make choices. Steaming the garment, styling it with another piece, shooting it in nice light are all fair, because none of them change what the buyer receives.
The condition set is evidence. One frame per issue, shot close, in the same light as everything else, cropped and nothing more. Every mark, every thin patch, every repair, every alteration, the worn heel, the missing button. No brightening, no smoothing, no angle chosen to flatter.
The order that works, and it is worth locking so you never skip the second half:
- Front, full garment, on your standard ground
- Back, same setup
- The maker’s label
- The size and care or union tag
- A fabric or construction detail close-up
- One frame per flaw, however many that is
- Styling or on-body shots, last
Steps six and seven being adjacent is deliberate. The temptation is to shoot the pretty ones and lose interest before the flaw shots. Putting the flaws before the styling shots means the boring work is done while you still care.
What should you photograph to date a garment?
The labels, and they are the shots most sellers skip.
A buyer paying a premium for a piece they believe is from a particular era is relying on your photographs to check that belief. The evidence lives in a handful of places: the maker’s label and its typography, the union or care label, the country of manufacture, the construction of the seams and the zip, the fiber content wording. Photograph these clearly enough to read and you have pre-answered most of the questions your inbox would otherwise receive.
This is also your best defense in a dispute. A buyer who claims a piece is not what you said it was is arguing against a legible photograph of the label. That is a much shorter conversation than one where you are both recalling what the listing looked like.
Shoot labels flat, in the same light as the rest of the set, with the phone close enough that the text is sharp. If a label is faded to illegibility, photograph it anyway and say so in the description. A photograph of an unreadable label is honest. No photograph of the label reads as a hidden one.
How do you fix the lighting without lying about the color?
Color is the single highest-risk area in vintage photography, because “not as described” cases turn on it more than on anything else.
The cause is almost always household bulbs. A tungsten or warm LED ceiling light turns a cream knit beige, a gray coat brown and a black garment into an indeterminate dark shape. You then correct in an edit, overshoot, and ship something the buyer describes differently from you.
Fix it at the source and the problem disappears:
- One window, one time of day, every time. North-facing is steadiest across the day.
- Ceiling lights off. Two color temperatures in one frame is the situation no edit fully repairs.
- Garment side-on to the window, not backlit, which makes a phone underexpose the fabric.
- Bounce the shadow side with a white board or a sheet.
- Check one frame against the real garment before shooting the other fifteen.
If a color still reads wrong after that, the honest move is a retake rather than a saturation slider. Fixing bad product photo lighting covers what an edit can genuinely recover and where it starts to misrepresent.
Where a garment’s color is unusual or hard to capture, say so in the description in words. “Photographs slightly warmer than in person, true color is a cool oatmeal” is a sentence that prevents returns and costs you nothing.
Where exactly is the line between editing and misdescription?
Restaging is presentation. Restoration is misdescription.
You may change anything about the photograph that does not change what the buyer is being told about the garment. Cropping, straightening, correcting a color cast back toward reality, removing your carpet, replacing a cluttered background with a clean ground. None of those alter the item.
That is the general standard. One platform writes it far tighter: Vinted’s rules allow no image editing, so on that channel the correction step does not exist at all.
You may not change anything about the garment’s state. No removing pilling. No evening out a fade. No cloning out a stain, a moth hole, a repair, a replaced button or a shortened hem. No smoothing a worn nap or a scuffed heel. Those are the attributes the price is set against.
The awkward middle cases, resolved:
| Edit | Verdict |
|---|---|
| Removing your bedroom floor from the frame | Presentation. Fine |
| Brightening an underexposed frame back to accurate | Presentation. Fine |
| Steaming the garment before shooting | Presentation. Fine, it ships steamed |
| Saturating a faded color toward its original | Misdescription. The fade is the condition |
| Generating an on-model image from the flat shot | Fine as a styling shot only, never as evidence |
| Cloning out a small mark you also disclose in text | Misdescription. Disclosure in text does not license an edited photograph |
That last row is the one people argue about. The reasoning is that photographs and descriptions are read by different people in different orders, and a buyer who scans images and skims text has been misled by the image regardless of what the text said. The photograph has to stand alone.
Poshmark listing photos covers how one marketplace writes this into its seller policy, including the dispute window a buyer gets. The principle transfers to eBay, Vinted, Etsy and your own site. It tightens on live platforms, where the buyer decides in seconds: Whatnot product photos covers the rule there and what it costs when a listing photo misses.
How do you show fit without modeling forty garments?
Vintage sizing is unreliable in a way modern sizing is not. A 1980s size 12 is not a current size 12, labels have often been cut out, and garments have been altered by previous owners. So fit evidence matters more here than almost anywhere, and you cannot resolve it with a size tag.
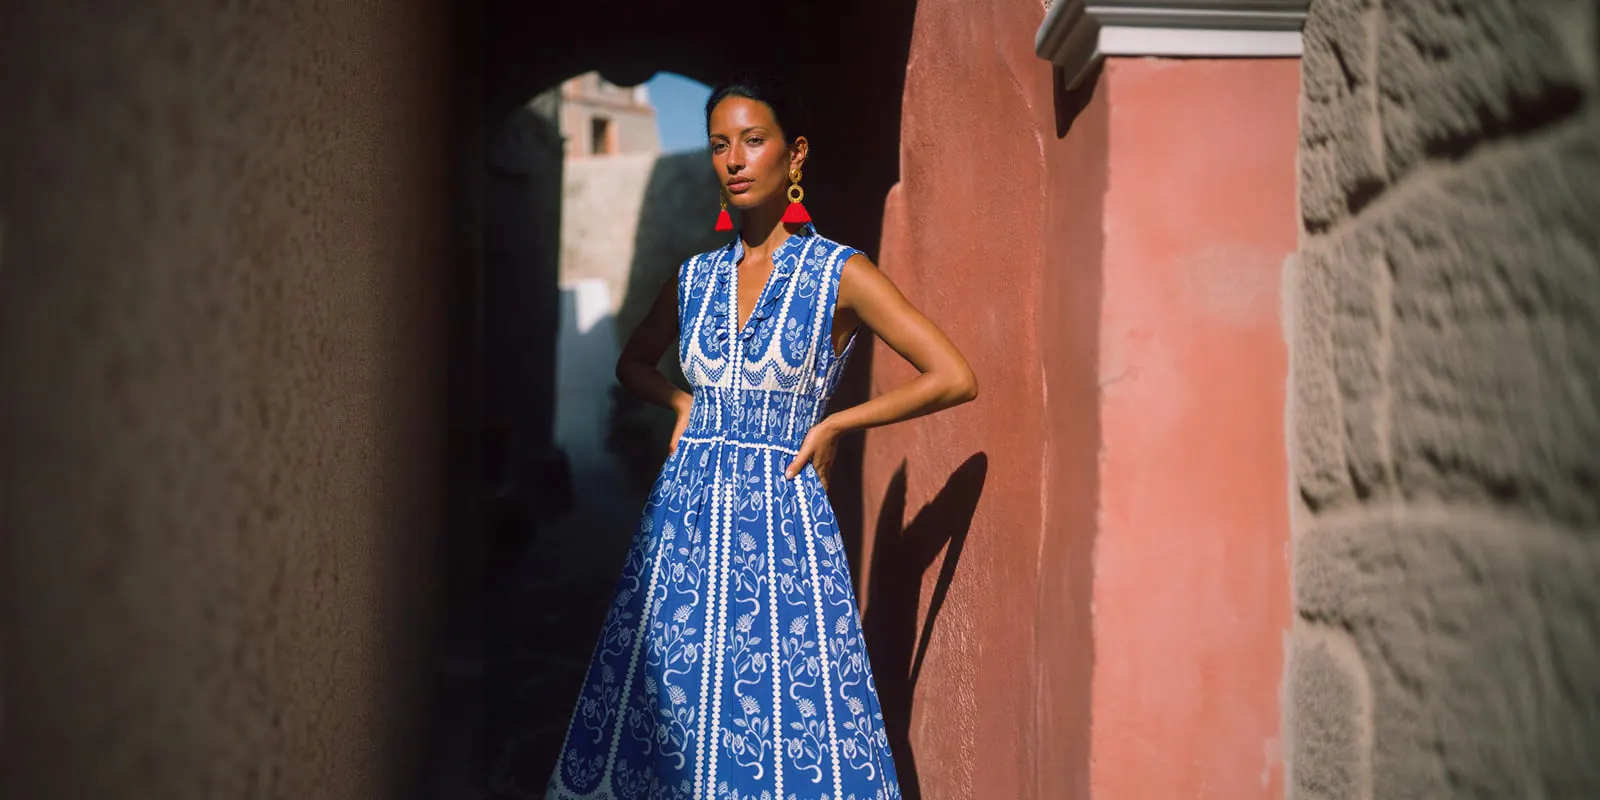
Two things solve most of it, and only one requires a camera.
Measurements, written. Pit to pit, length, shoulder, sleeve, waist. Flat measurements in centimeters beat any photograph for answering “will this fit me”, and they take little time with a tape. This is the highest-return step in a vintage listing, and it is not photography at all.
One shot showing drape. How a garment hangs, where a waist sits, how wide a sleeve. A dress form does this quickly, and dress photography covers the frame that proves drape properly. Self-modeling does it better and takes longer per item.
For sellers who will not be in front of a camera, a generated on-model image built from the flat garment photograph is the third route. In DesignerBox, the Dress my model app works from the real garment photograph, so you do not describe the garment in words.
Two limits, stated plainly. Virtual try-on starts on the Premium plan, and plans and credits are on the pricing page. A generated on-model image is also a styling shot, and nothing more. It goes in a later slot alongside the real photographs, never as the main image, and never as the evidence of condition or fit. Putting clothes on a model with AI covers how much fabric texture survives, which on worn vintage is exactly the detail that matters.
If you generate an image containing a person, disclosure obligations apply and they differ by market. Labeling AI-generated fashion images covers the current position, and if you sell into the EU, read it before you publish rather than after.
How do you make a mixed vintage shop look like one shop?
By fixing the ground, the crop and the light direction once, and applying them to stock that has nothing else in common.
This is harder in vintage than in any other category, because you sourced everything separately over months and the pieces span decades, colors and fabrics. The unifying element cannot come from the stock. It has to come from you.
Depop’s own seller guide said the same thing from the platform side: its most successful sellers had a consistent look and feel, and it recommended consistent poses, backdrops and lighting. The guide is dated March 2020, and Depop no longer hosts it, so we read an archived copy in September 2026. Depop shop photos covers the grid problem in detail, and clothing photography covers the garment-level craft.
Choose a ground that flatters aged fabric. Bone, warm gray and soft putty do more for washed denim, faded cotton and yellowed lace than a hard white does, because hard white makes anything off-white read as dirty. If you sell mostly streetwear and saturated color, the opposite is true and white is right. Streetwear drop campaign images covers that end of the market. Vintage denim and tailored trousers also carry the crop rule that applies to every bottom, which pants photography sets out in full.
Whatever you pick, pick once. The back catalog can be recropped to a single square in an evening, and recropping alone does more for grid coherence than any color work.
Treat that decision as a job you build once and then run on everything. Settle the ground, the crop and the light direction on a single item, write the three choices down, and apply them to every listing you shoot afterwards. The stock is one-of-one and always will be. The treatment repeats, and it is the only thing that makes fifty unrelated garments read as one shop, on a week when you have forty pieces to photograph and no memory of what you did in March.
DesignerBox is AI creative production for brands and agencies. You can save those choices as a workflow for the styling set. A saved workflow runs the same way on the next garment, and the cost is shown before each run. Your brand rules sit in one record, and the workflow reads them on every run. Garments that are all different still look like one shop. The full workflow from the first product photo to the finished ad, in one subscription. A forty-piece week, from the ground and the crop to the on-model frame and the ad, then stays in one place. The condition set stays real photographs. The fashion product photography page covers the drape, the fabric weight and the true dye color across cutouts, on-model views and detail crops. Start from a template, add your brand and your products, and run it.
FAQ
How many photos should a vintage clothing listing have?
More than a new-product listing, because condition needs its own frames. A working minimum is front, back, maker’s label, size or care tag, a construction detail, and one frame per flaw. That is six before styling shots, and the flaw count is whatever the garment requires.
Can I edit out a stain if I mention it in the description?
No. Photographs and text are read separately and in different orders, so an edited photograph misleads a buyer who scans images regardless of what the description says. Disclose the flaw in text and show it in an unedited frame. The photograph has to stand on its own.
Should vintage clothes be steamed before photographing?
Yes, provided you ship them in that state. Steaming is presentation, and it changes nothing about what the buyer receives. What you must not do is press out a permanent crease or a set fold line and photograph the garment as though the fold does not exist.
How do I photograph a label that has faded?
Photograph it anyway, sharp and in the same light, and say in the description that it is illegible. An unreadable label shown is fine. A missing label photograph reads as a concealed one, and it invites exactly the question you were avoiding.
Can I use AI-generated images for vintage listings?
For styling shots derived from a real photograph of the actual garment, in a later slot alongside honest condition photographs, this is ordinary production work. As the main image, as evidence of condition or fit, or generated from anything other than the real item, it is not. One-of-one stock means your photographs are the only record of what you are selling.
What is the most common vintage photography mistake?
The most common mistake is editing toward “clean”, the way new product is photographed. That approach assumes identical new units. On vintage, the wear, the fade and the label typography are the evidence supporting your price, and removing them removes the reason someone would pay it.
Do I need measurements if I have good photographs?
Yes, and they matter more than the photographs for fit. Vintage sizing does not map to modern sizing, labels are often cut out, and garments have been altered by previous owners. Flat measurements in centimeters, pit to pit, length, shoulder, sleeve, waist, answer the question no photograph can.
Sources
- Depop Seller Photography Guide on consistent poses, backdrops and lighting (PDF, dated March 2020, no longer hosted by Depop): archived copy, read September 2026
- DesignerBox pricing page (designerbox.ai/pricing), September 2026
Depop’s consistency guidance comes from its own seller guide, dated March 2020, read in an archived copy in September 2026. Marketplace condition and disclosure rules differ by platform and by jurisdiction; confirm the current policy of the platform you sell on. DesignerBox pricing and tier gating are current as of September 2026.