

 Product photo backgrounds

Black background product photography with readable edges

Upload one photo of your product. DesignerBox places it on a near black ground and lights the edges so the shape stays readable. You get the frame for a listing, an ad panel or a feed post. A run costs 4 to 10 credits.

Start free
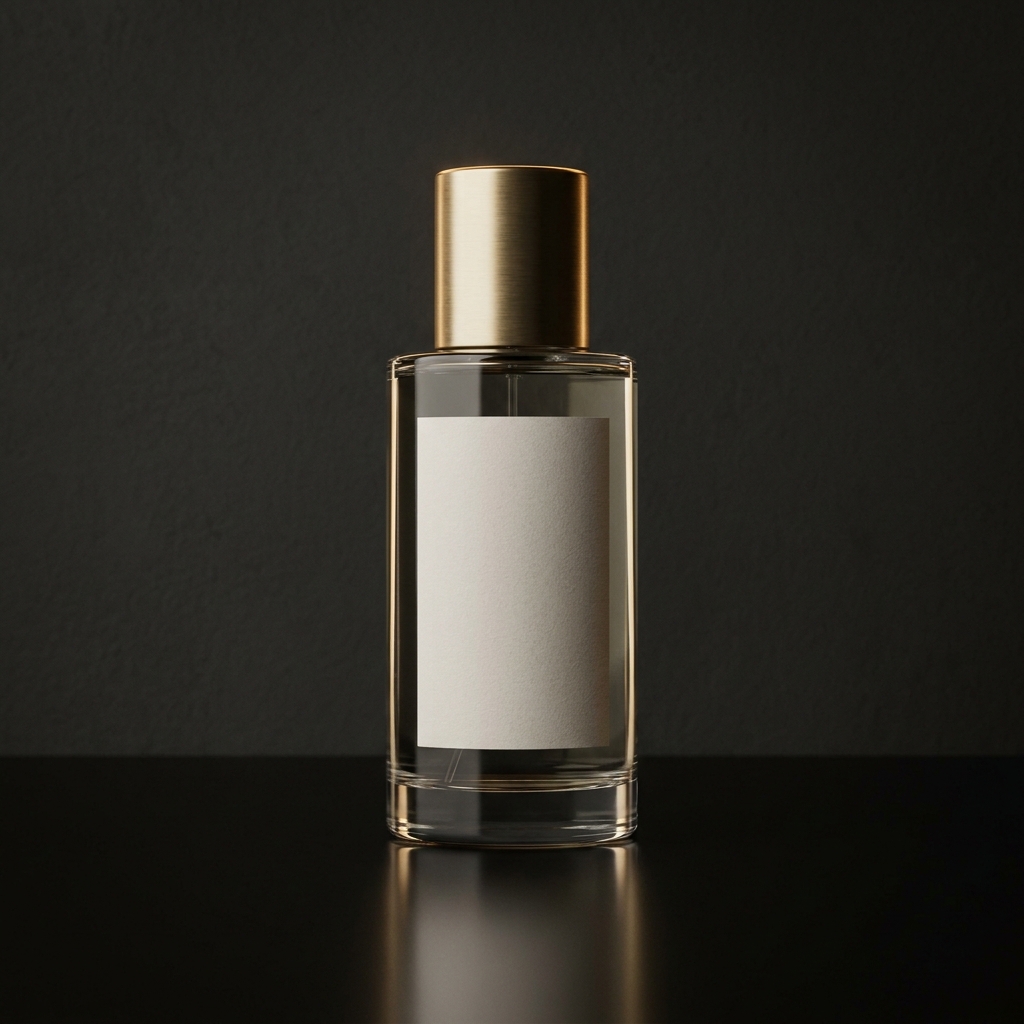
Glass fragrance bottle with a brushed gold cap on a black polished surface, a soft mirrored reflection beneath it
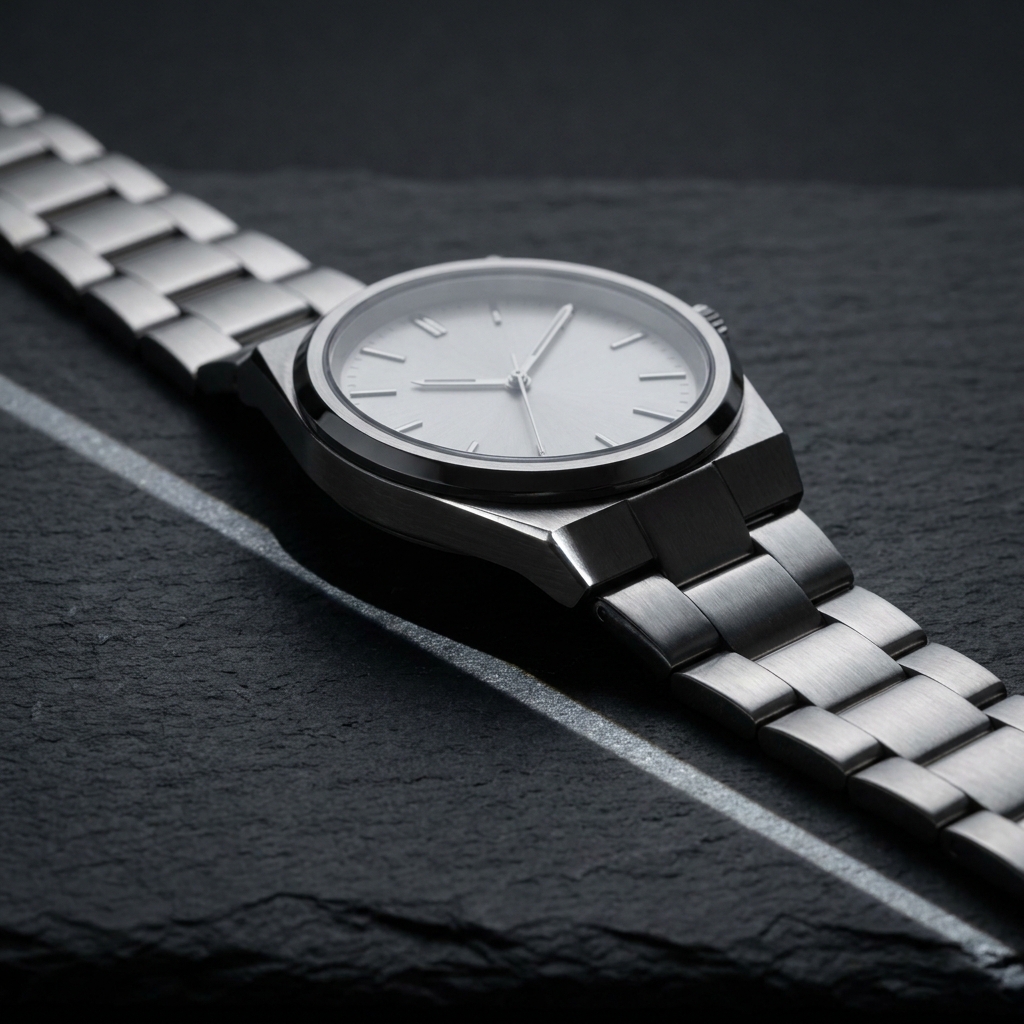
Stainless steel wristwatch with a plain dial resting on dark slate, narrow highlights defining the case and the bracelet
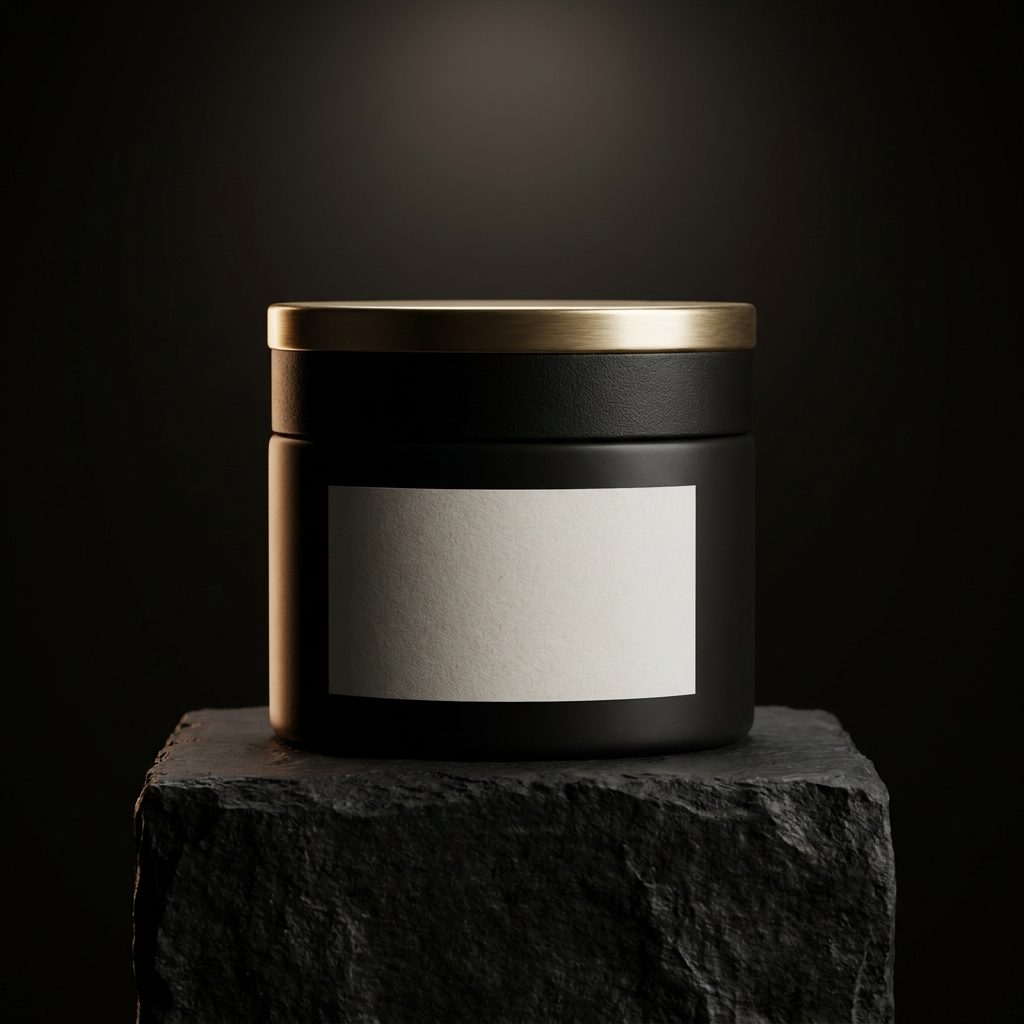
Matte black cosmetic jar with a gold rim on dark textured stone, set against a near black background

A black background product photo places a product on a near black ground, lit so its edges stay visible. It suits fragrance bottles, watches, spirits, jewellery and premium packaging. Those surfaces are glass, metal or gloss, and each one bends a narrow highlight into a line that describes the shape. The ground itself does no work. Everything the buyer reads comes from that line. One object can hold a whole frame this way, and dark packaging that looks cheap on white looks expensive here. Most stores still ask for plain white in the first listing slot, so a dark frame belongs at position two or three. The same physics sets the limit. A charcoal jumper returns no highlight, so it keeps no outline, and soft matte goods in dark colours belong on a lighter ground.

Four problems a black ground creates

Four faults that appear on a dark ground, and the fix for each.

Separating dark from dark

A dark product on a dark ground merges with it. The fix is a narrow strip of light behind the product. Place it at about 100 degrees from the camera and aim it along one side. It draws a thin bright line down the edge. Ask for that line on the side facing away from the main light. Two lines, one each side, look artificial.

Blacks that keep detail

Pure black hides shape. If the darkest parts sit at 0, the base of a bottle disappears. So does the side of a metal case. Keep the deepest shadow near 10 on the 0 to 255 scale. That is close to black on screen, and it still holds the outline of the product. Dark grey shadows also survive resizing to a small grid tile.

Narrow light for glass and metal

Glass and polished steel show the shape of the light source, not the light itself. A wide soft box gives one broad white band that flattens a bottle. A strip source 20 to 30 centimetres wide gives a clean vertical highlight down the side. Ask for narrow sources on both flanks. Keep them off the label, so the text stays readable.

Dust reads white on black

Every speck on a black surface becomes a white dot. On a white ground the same dust is invisible. Check the frame at 100 percent before you publish. Look at the area right under the product first. On a polished black top, fingerprints appear as soft grey smears. Ask for a clean surface in the prompt, then rerun if marks appear.

Tools for a black background set

The four apps that do most of the work on a dark set.

Add the edge highlight - Before
Before
Add the edge highlight - After
After
Spotlight Relight

Add the edge highlight

Spotlight Relight changes the lighting on a photo you already have. On a black ground you use it to add a narrow highlight along one edge, so a dark product separates from the dark surface. It also lifts the deepest shadows a little. That keeps detail in the base of a bottle or the strap of a watch. Spotlight Relight runs on the Premium plan.

Open the tool
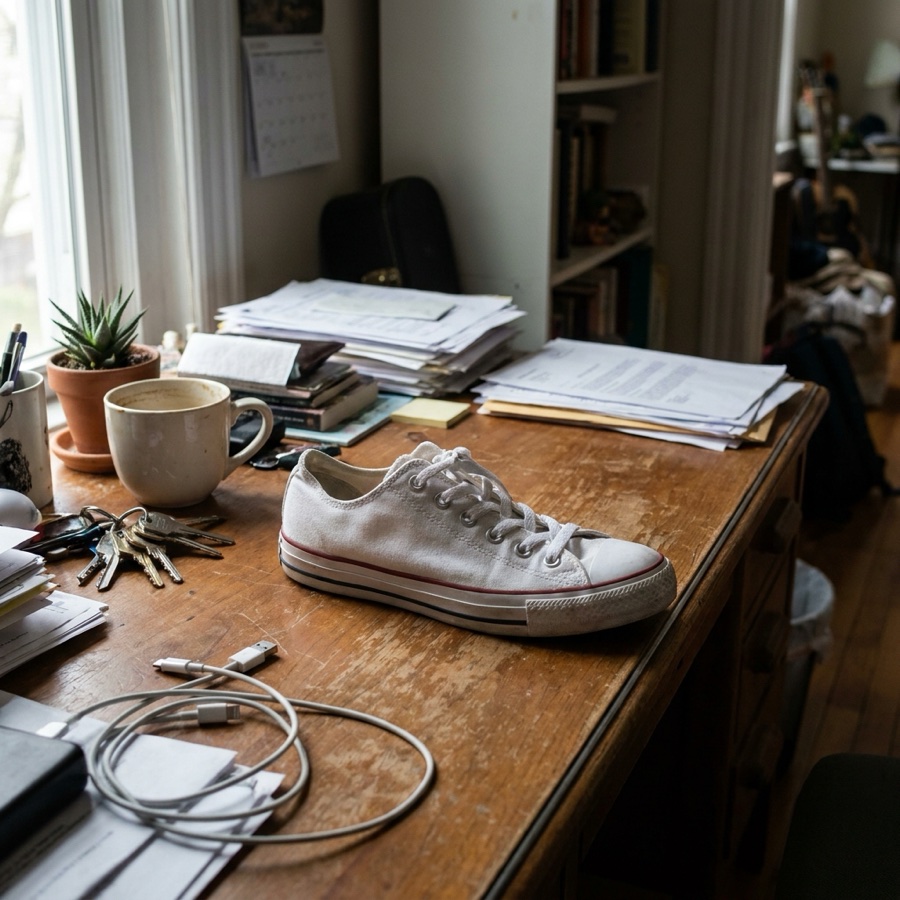
Cut out, then place on black - Before
Before
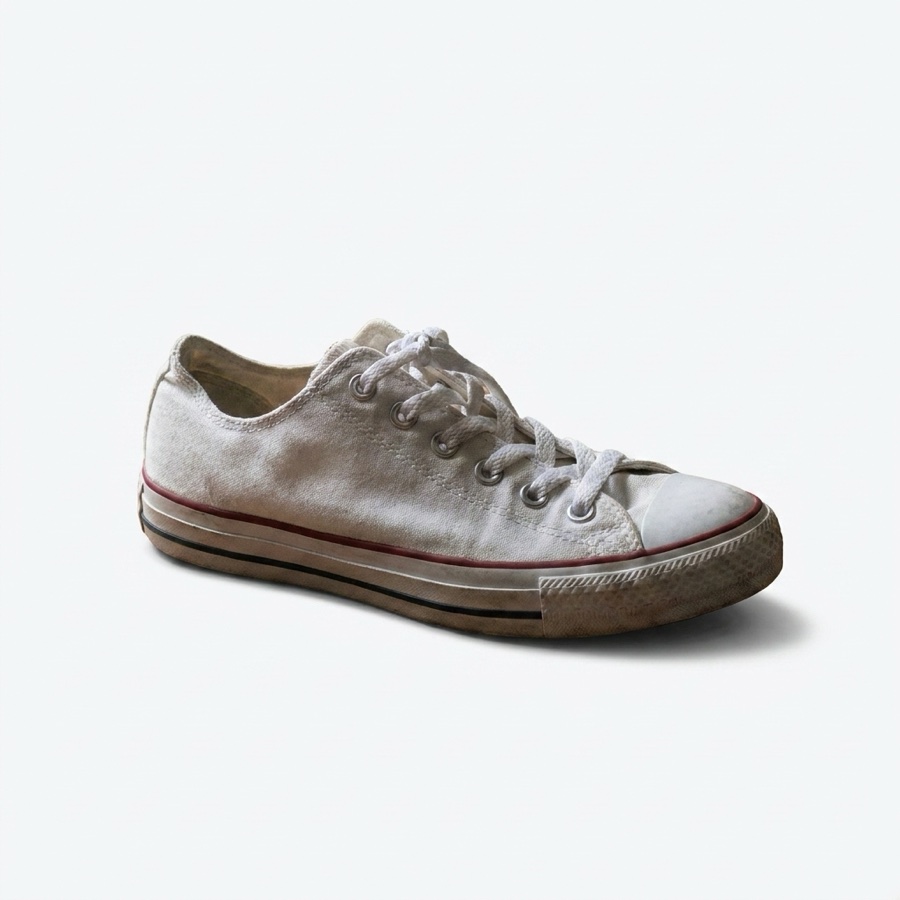
Cut out, then place on black - After
After
Background Remover

Cut out, then place on black

Background Remover separates the product from its background and returns a clean white file and a transparent file. Use the transparent file when you place the product on a black ground yourself. Then look at the outline at 200 percent. A cutout made from a white shoot often carries pale fringe pixels. They are invisible on white and obvious on black.

Open the tool
Room for text on black - Before
Before
Room for text on black - After
After
Product Ad Generator

Room for text on black

Product Ad Generator places a finished product into an ad layout with space for a headline and a price. A black ground helps here. White text sits on it with strong contrast and needs no box behind it. Keep the product on one side of the frame. Leave the darker half empty, so the headline has somewhere to sit.

Open the tool
More views, same black set - Before
Before
More views, same black set - After
After
Photo Angles

More views, same black set

Photo Angles builds side, top and three-quarter views from one photo, so a listing does not need a second shoot. On a black ground each angle moves the highlight to a different edge. A watch shot from three-quarter shows the clasp and the side of the case. Check that all views keep the same background value, so the set looks like one shoot.

Open the tool

Each before and after above demonstrates the tool named on the card, using that app's own sample image, so the subject you see may not be from this industry. Run the same tool on your own photos to see it on your work.

Steps for one black background set

Four steps from one uploaded photo to a finished dark frame.

1
Upload the photo and name the surface
Upload one photo of the real product. Uploading your own product photo is on Pro and above. Then write the surface in plain words: black polished acrylic, dark slate, or black textured stone. Name the finish of the product as well, such as clear glass, brushed steel or matte card. The model needs both to judge how much light each part returns.
2
Ask for narrow edge light
Write the light into the prompt. Ask for two narrow strip sources behind the product, one on each side. Add a small fill in front at low power. Say that the background stays black across the whole frame. Say that the label keeps its detail. Short, direct instructions work better than long descriptions of mood.
3
Read the blacks at full size
Open the result at 100 percent. Look for three faults. One, a lighter patch of grey behind the product. Two, white dust dots on the surface. Three, a shape that has lost its outline in shadow. Any of the three means a rerun. A rerun costs 4 to 10 credits.
4
Upscale, then save the setup
A large near black area is where file compression shows first, so save at the highest quality your selling channel accepts. Open the saved file again and look at the ground for grey blocks. Then send the frame you keep to Image upscale, which is on the Premium plan, because the edge highlight is only a few pixels wide and needs the extra size to stay clean. Store the light positions and the surface in Workflows, so the next bottle lands on the same black.

Order of work

Removing the background comes first, before any dark ground. A cutout taken from a white shoot carries pale pixels along the edge. On white nobody sees them. On black they read as a bright outline around the whole product. Lighting comes second, because on a dark ground the light decides whether the shape survives at all. A crop cannot rescue an edge that has merged with the background. Checking the blacks comes third, at full size, since dust and a grey patch both hide at small sizes. Upscaling comes last, because it makes every fault larger too.

Checks on the finished files

Four checks to run before you publish a dark product image.

An even black field

The background should hold the same value from corner to corner. A lighter patch behind the product tells a buyer the light was not controlled. Sample four corners and the centre. If the centre reads much lighter than the corners, rerun with the light kept off the backdrop.

A readable shape at tile size

Shrink the image to 200 pixels wide and look at it. On a black ground this is the hard test, because the shop grid shows your photo small. If the outline of the bottle or the watch disappears, the edge highlight is too weak. Raise it and run the frame again.

A reflection that fades

On polished black the product leaves a mirrored copy below it. That copy must be darker than the product and shorter. It should fade before it reaches the bottom of the frame. A reflection that runs the full height, at the same brightness, looks pasted rather than photographed.

A neutral black, not blue

Many dark frames drift blue, because the model treats shadow as cold. Read the darkest area: red, green and blue should sit within a few points of each other. A gold cap or a warm label looks wrong against a blue black. Ask for a neutral black at about 5600K and check again.

Model choice for dark frames

A near black frame stresses one thing: how a model handles the bottom of the tonal range. Most models push a dark area to flat black, and the base of a bottle goes with it. Nano Banana Pro keeps the shape of a product you upload, so a watch bracelet holds every link where the light falls away. FLUX renders fine grain, which stops a large dark area breaking into visible bands of grey. Run the same prompt on both. Then compare only the darkest quarter of each frame, because that is the part where they differ.

Questions about black backgrounds

Common questions about shooting products on a near black ground.

How do I keep a black product visible on a black background?
Light one edge of the product and leave the rest dark. Place a narrow strip source behind the product and to one side. It draws a bright line down the silhouette, and the eye follows that line. Keep the front light low, near 10 to 15 percent of the edge light. If the product is matte black card, add a second edge line on the opposite side. Glossy black needs only one.
Why does my black background look grey instead of black?
Light from your main source is falling on the backdrop. Move the product further from the background, or narrow the light so it lands only on the product. In a generated frame, write that the background stays black across the whole frame. Say that no light reaches it. Compression is the other cause: a very dark area saved as a low quality JPEG breaks into grey blocks. Save at high quality.
Why does my black background look different on another screen?
Dark detail is the first thing a screen loses. A phone at low brightness turns your near black into flat black, so the base of a bottle vanishes. The same file on a bright laptop looks correct. Check it on both before you publish. If the shape only holds on the bright screen, raise the edge highlight and run the frame again. A buyer will not raise the brightness for you.
Which products look right on a black background?
Fragrance, watches, spirits, jewellery and premium packaging. These have glass, metal or gloss surfaces, and a dark ground lets a narrow highlight describe their shape. Dark packaging with foil or gold print also works well. The metal catches a narrow light that a white background would flatten. Soft matte goods in dark colours suit it least. A charcoal jumper on black loses its outline.
How do I stop dust showing on a black surface?
Clean the surface, then check the frame at 100 percent. On black, every speck becomes a white dot. The same dust is invisible on a white ground. In a generated frame, ask for a clean polished surface and rerun if marks appear. A rerun costs 4 to 10 credits. The physical version of the same fix is a new sheet of black acrylic, because acrylic scratches with use and holds every fingerprint you leave on it.
Can I change a white background photo to a black background?
Yes, in two steps. Run Background Remover to get the transparent file, then place the product on a dark ground and relight it with Spotlight Relight. Check the outline at 200 percent first. Cutouts made from white shoots carry pale fringe pixels, and those pixels are obvious on black. Trim them before you relight, or the product looks fake.

All twelve backgrounds

The catalogue lists all twelve backgrounds side by side, so you can compare a dark ground with marble, linen or plain white.

See all backgrounds

Shoot your product on black

The free plan gives you 112 credits, so you can generate a dark frame and read the blacks at full size. Free output carries a watermark, and you may not sell with it. A paid plan removes the watermark, and the right to sell the result starts on Pro.

Start free