 Pure white background

White background product photography from one photo

Upload one photo of your product. DesignerBox returns it on a plain white sweep, with a visible edge on pale material and one soft shadow under the base. You also get a transparent copy, so the same shot works on a white page or a coloured banner.

Start free
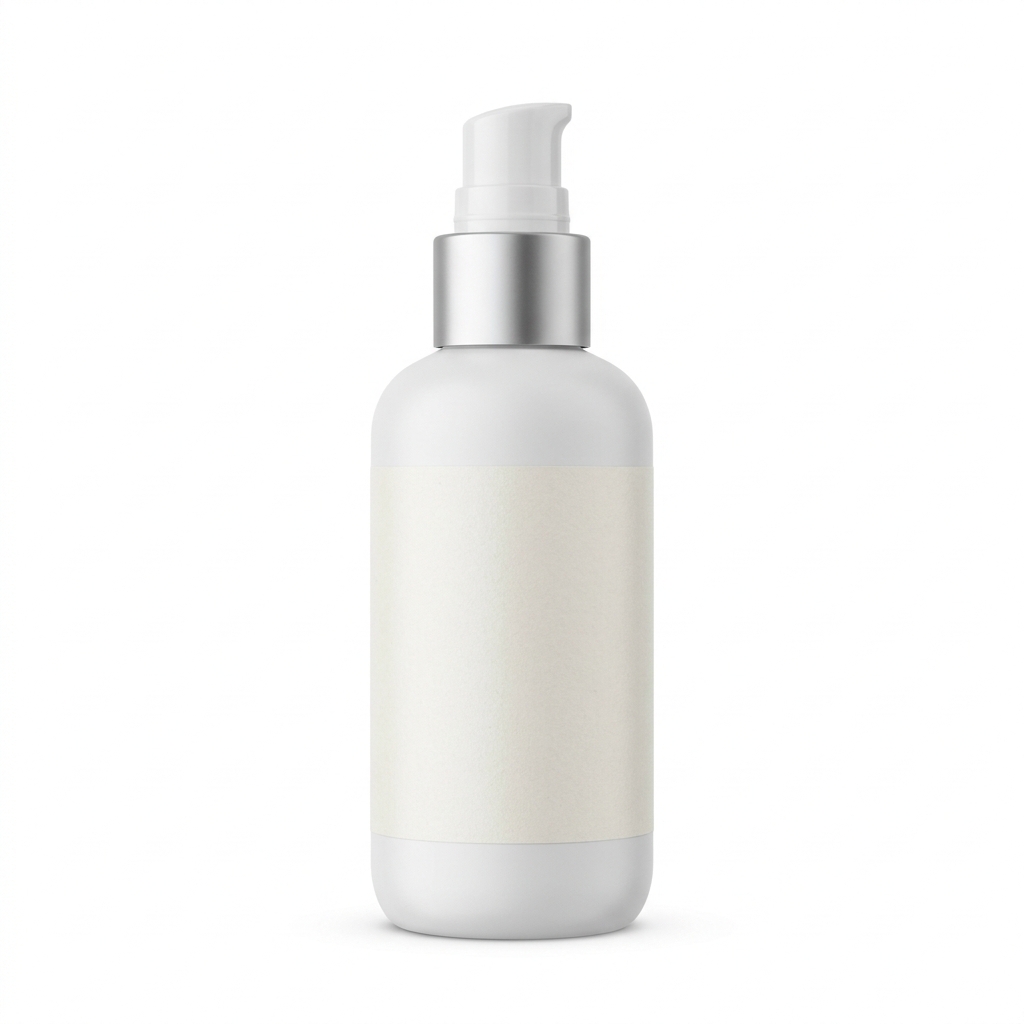
White cosmetic pump bottle with a silver collar and a blank label, upright on pure white with a soft contact shadow
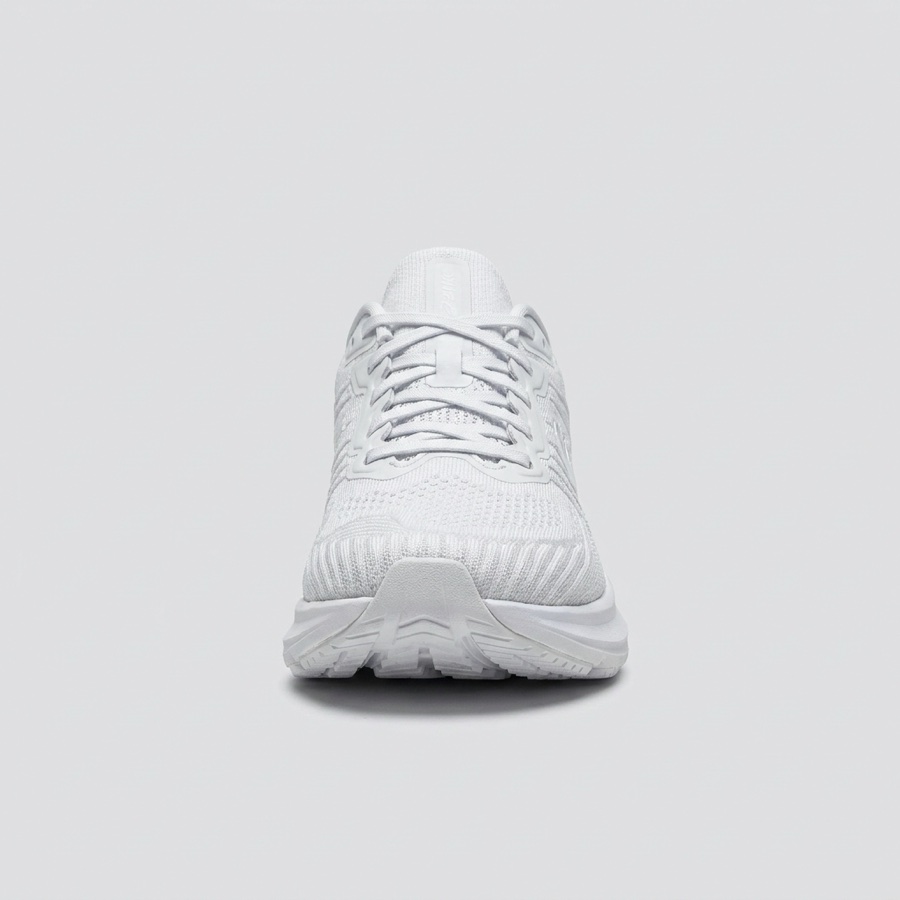
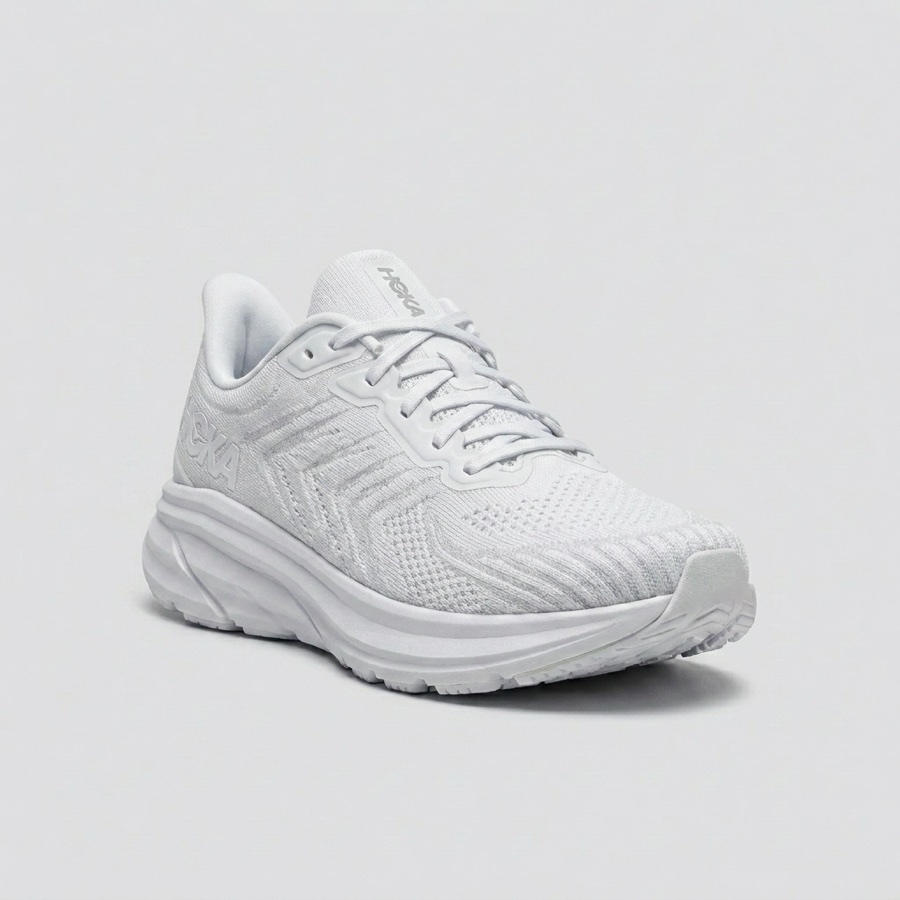
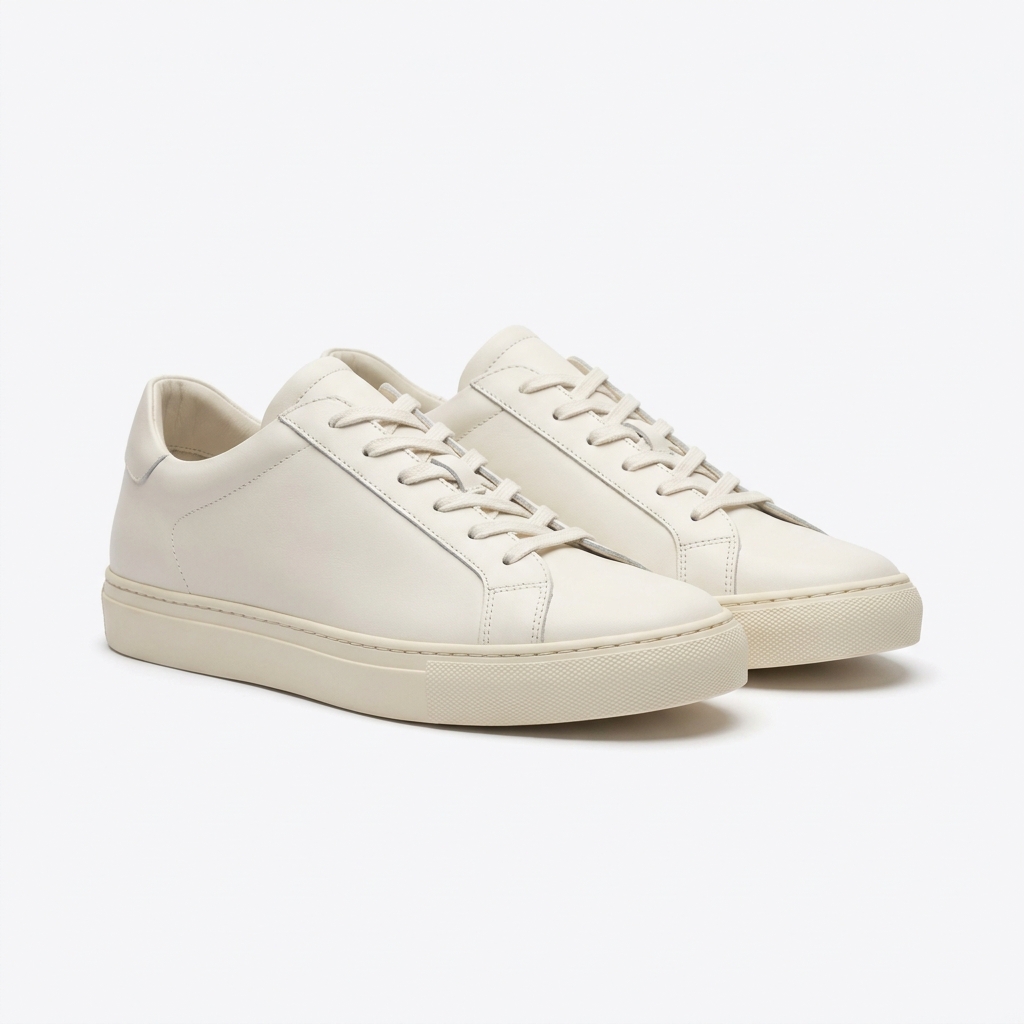
Bone white leather trainers photographed in three-quarter view on pure white, with a soft contact shadow under both soles
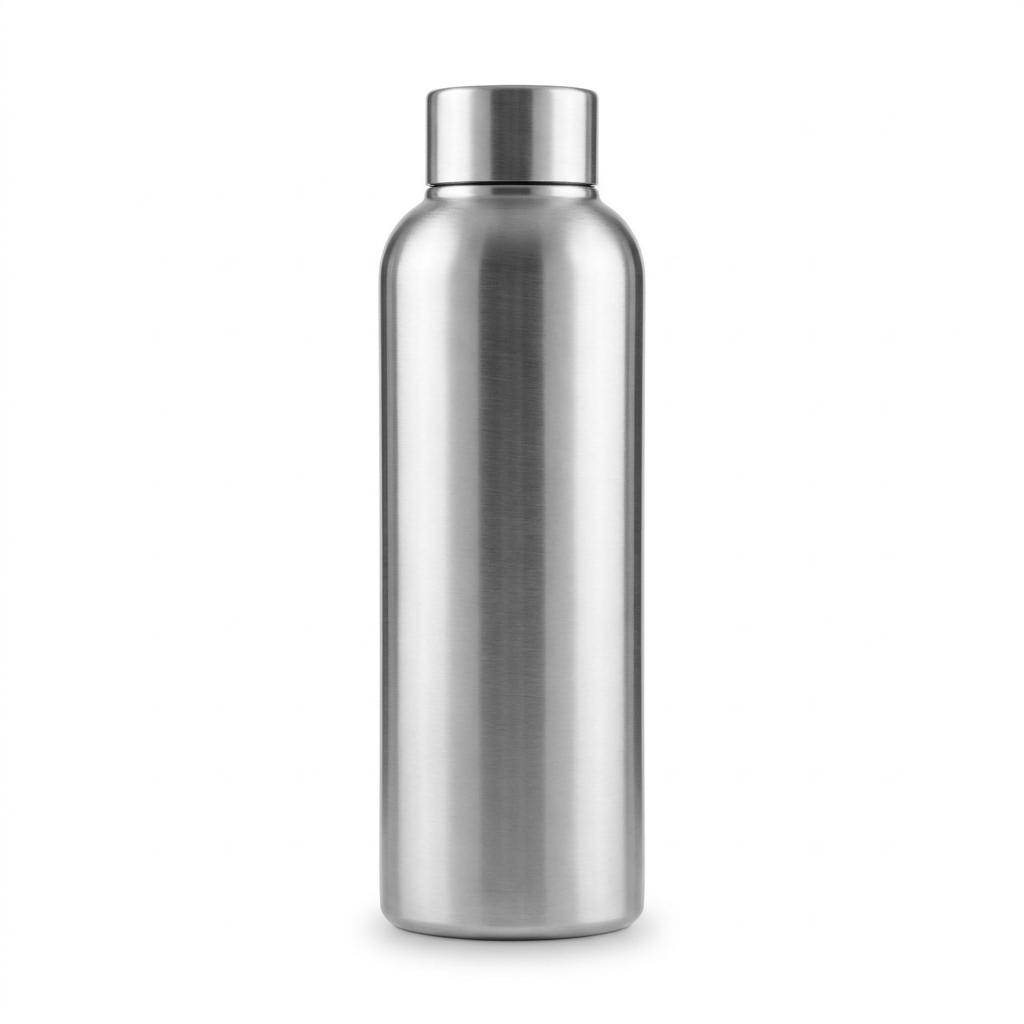
Brushed stainless insulated water bottle standing on pure white, with clean vertical highlights running down the metal body

White background product photography places a product on a plain white sweep, with no visible floor line and one soft shadow under the base. It suits most physical goods: bottles, shoes, tools, packaged food, jewellery and small electronics. White strips out every part of the picture that is not the product, so a buyer scanning a grid of twenty items compares shapes and nothing else. That strength is also the limit. A white frame answers what the thing looks like and refuses every other question. It cannot show how big the item is, what it sits next to, or who buys it. Most sellers spend the first image on white and the rest of the set on those answers. Two things make white harder to shoot than it looks. Pale products lose their edge against it, and metal has nothing to reflect but more white.

The hard parts of a white sweep

Where pure white goes wrong, and what a good white frame fixes.

White on white separation

A bone white trainer on a pure white sweep has almost no tone difference at its edge. The eye loses the outline and the shoe reads flat. The fix is a small tone step. Light the product so the shaded side sits near RGB 230 while the sweep stays at 255. Twenty five levels is enough to draw the shape. Any more and the product starts to look grey.

Grey halo at the cut edge

A halo is a thin ring of the old background left at the cut edge. On white it is the first thing a buyer notices, because grey against 255 white has strong contrast. Fur, hair, gauze and clear plastic are the usual causes. Check the edge at 100 percent zoom, not at thumbnail size. A ring one or two pixels wide will still show once the image sits on a white page.

One contact shadow, nothing more

A white sweep has no visible floor, so a long cast shadow makes no sense. It looks like the product sits in a room that the frame does not show. Keep one soft shadow directly under the base, no wider than the product itself, and gone within about ten millimetres. That small shadow does one job. It stops the product floating. Anything longer starts to argue with the plain white.

Metal has nothing to reflect

A brushed steel bottle is a mirror. On a white sweep it reflects white, so the metal can read as a blank grey tube with no shape. Real studios solve this with black cards at the sides. The frame keeps a dark strip down each edge of the metal, and a bright vertical strip where the light source falls. Ask for that pattern by name. Without it, stainless, chrome and glass all look dull on white.

Tools for a white sweep

Four apps that handle the cut, the light, the extra views and the sweep.

Cut out, then drop on white - Before
Before
Cut out, then drop on white - After
After
Background Remover

Cut out, then drop on white

Background Remover cuts the product away from whatever it was shot on. It returns two files: one on clean white and one with a transparent background. The white file is the one a listing needs. The transparent file lets you place the same product on a coloured banner later. Check the cut edge at full zoom before you use either file.

Open the tool


Add the edge light back - Before
Before
Add the edge light back - After
After
Spotlight Relight

Add the edge light back

Spotlight Relight changes the lighting on a photo you already have, without moving the product. On a white sweep you use it for one thing: a soft edge on pale material. Ask for a large soft source above and slightly behind the product. Ask for a short contact shadow. The white stays white, and a cream or bone product gains an outline you can see.

Open the tool
Side and top views on the same white - Before
Before
Side and top views on the same white - After
After
Photo Angles

Side and top views on the same white

Photo Angles builds extra views from one photo, so a listing set does not need a second shoot. On white this matters more than on a textured surface. Every view sits on the same flat field, so any change in the white between views is obvious in the grid. Generate the side, top and three-quarter views from the finished white frame, not from the original shot.

Open the tool
Build the white sweep itself
Styled Scene Generator

Build the white sweep itself

Styled Scene Generator places a product into a described scene or surface. Ask it for a plain white sweep with no floor line and one soft contact shadow. This is the route when your only photo was taken on a wooden table or a carpet. You get a white frame without a separate cut-out step. Compare it against the Background Remover result and keep the cleaner edge.

Open the tool

Each before and after above demonstrates the tool named on the card, using that app's own sample image, so the subject you see may not be from this industry. Run the same tool on your own photos to see it on your work.

Four steps to a clean white frame

The order that keeps the edge clean and the credits low.

1
Pick the sharpest photo
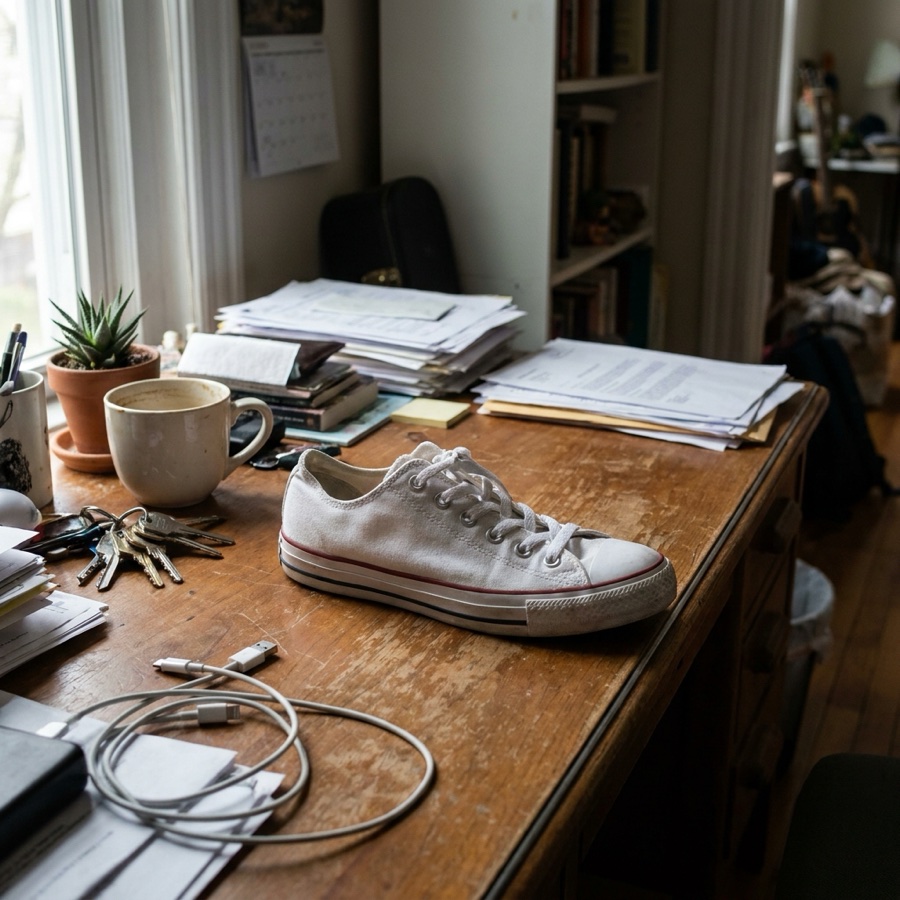
Choose a photo where the whole product is in focus and the label faces the camera. Avoid a shot taken against a coloured wall or on a red table. Strong colour bounces onto pale material and leaves a tint that survives the cut. A phone photo near a window works well. Wipe fingerprints off steel and glass first. Uploading your own product photo is on Pro and above.
2
Cut the product out first
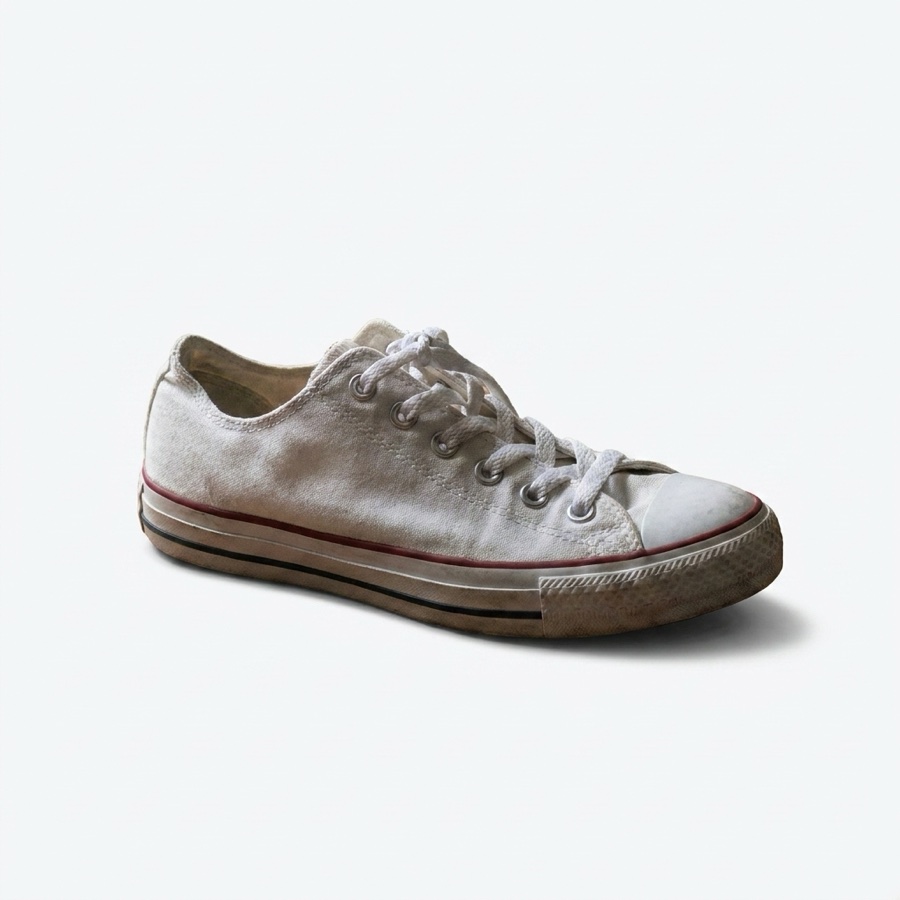
Run Background Remover. Save both files it returns, the white one and the transparent one. Open the transparent file and zoom to 100 percent along the edge. Look for a grey or coloured ring, and for gaps in thin parts like a strap or a handle. Fix the edge now. Everything later builds on this file.
3
Set the light and the shadow
Open Spotlight Relight, which is on Premium, and ask for a large soft light above the product, slightly behind it. Ask for one contact shadow under the base and no cast shadow. For steel or glass, ask for dark strips down the side edges. Run it once, look at the result, then change one thing at a time. Each run costs 4 to 10 credits.
4
Check the white, then upscale
Save the frame and open it on a white page, not on the dark app canvas. A sweep at 248 passes on grey and turns into a visible rectangle here, which is a fault only a white background can have. Fix that before anything else. Then send the approved frame to Image upscale, on Premium, because a plain field puts nothing beside a soft outline to hold the eye at full zoom.

Order of work

The cut comes first because every later step reads the edge. If you relight a product while it still sits on a kitchen counter, the model keeps that counter in the reflections, and the cut afterwards has to remove them again. Light second, once the product is alone on white. Extra views come third, so the side and top views copy a look that is already approved. Upscale last. Each upscale costs credits, so upscaling a frame you will edit again pays twice for the same pixels.

Files you get back

Four checks that decide whether a white frame is usable.

Pure white, corner to corner

The background has to be one flat value across the whole frame, close to RGB 255. A corner that sits at 246 shows as a grey box the moment the image lands on a white page. Sample four corners and the centre with a colour picker. Five readings within two levels of each other is the pass.

A readable edge on pale goods

A white bottle, a cream candle or a bone trainer needs an outline the eye can find. Trace the silhouette on screen at arm's length. If any part of the shape disappears into the sweep, the light is wrong, not the background. The shaded side should read around 25 levels darker than the sweep.

One soft contact shadow

The shadow sits under the base and nowhere else. It should be no wider than the product, soft at the outer edge and darkest where the product touches the sweep. Ten to fifteen millimetres of spread is enough at listing size. A hard black oval or a long diagonal both look fake.

A matching transparent file

Background Remover returns a PNG with a transparent background next to the white version. Keep both. The white file goes on the listing. The transparent file goes into a price banner, a size chart or an ad layout, where the panel behind it is rarely pure white.

Model choice for white

White has no texture to hide a mistake in, so model choice here turns on two things: whether the field stays one even value, and whether a pale product keeps an edge against it. FLUX holds a hard silhouette on cream, bone and off-white material, which is the case that fails most often on this background. Seedream keeps the tone steps in smooth metal, so a stainless bottle shows its bright and dark strips instead of flattening to grey. Run both on the same product, then compare the corners of the frame before you look at the product itself.

White background questions

Six things sellers ask before they shoot on white.

Why does my white product disappear on a white background?
Because there is no tone difference between the product and the sweep. A white bottle photographed under flat, even light reflects almost the same value as the background, so the edge vanishes. Add light from behind and above the product, angled to skim the surface. That gives the top a bright line and lets the shaded side drop to around RGB 230. Twenty five levels of separation is enough to restore the shape.
Why is there a grey outline around my product?
That grey outline is a halo. It is a thin band of the original background that the cut-out did not remove. Against pure white the band has strong contrast, so it becomes visible at normal size. Hair, fur, gauze and clear plastic cause it most often. Zoom to 100 percent and check the whole edge. Run Background Remover again, or remove the ring by hand, before you build any other view from that file.
Should the white be pure RGB 255?
Close to it, but not always exactly 255. Aim for 252 to 255 across the background. Pure 255 everywhere can erase the soft edge of a white product, because the sweep and the product highlight become the same value. A background at 253 keeps that headroom and still reads as plain white on a white page. What matters more is that the value is even, with no gradient from one corner to the other.
Can a white background photo still have a shadow?
Yes, one soft contact shadow under the base. That shadow tells the buyer the product is sitting on a surface. Without it the product looks like it floats. Keep the shadow under the footprint of the product, no wider than the base, and soft at the outer edge. Avoid a long cast shadow across the sweep. A white background has no visible floor, so a long shadow points at a room the picture never shows.
How many credits does a white background set cost?
A single run costs 4 to 10 credits, and a credit is about one cent. A white set is one cut-out, one relight and three extra views, so about five runs. White is also the one background you could build for real without much money: a paper roll, two lamps and a table. The paper is cheap. The cost comes from matching the same white on a product you shoot in March and one you shoot in July, and a saved setup in Workflows takes that part away.
Do I need a light tent or a white photo box?
No. A white photo box gives flat, even light, which is the exact light that makes a white product vanish on white. You need one photo of the real product, sharp and in focus. DesignerBox removes the background and rebuilds the light, including the edge and the contact shadow. If you do own a tent, shoot in it, then relight the result rather than accept the flat version.

All twelve backgrounds

The hub page lists every background side by side, so you can compare white against marble, linen, concrete and the rest before you choose.

See all backgrounds

Put your product on clean white

The free plan gives you 112 credits, so you can generate white frames and see how a pale product separates from the sweep. Free images carry a watermark. Your own product photo and the licence to sell arrive on Pro, and the edge light on Premium.

Start free