 Wood surface backgrounds

Wood background product photography without the yellow tint

Upload one photo of your product. DesignerBox places it on oak, walnut or ash, with the grain running the way you ask. The wood stays warm and your product keeps its own colour. Each run costs 4 to 10 credits, so a full set stays under a dollar.

Start free
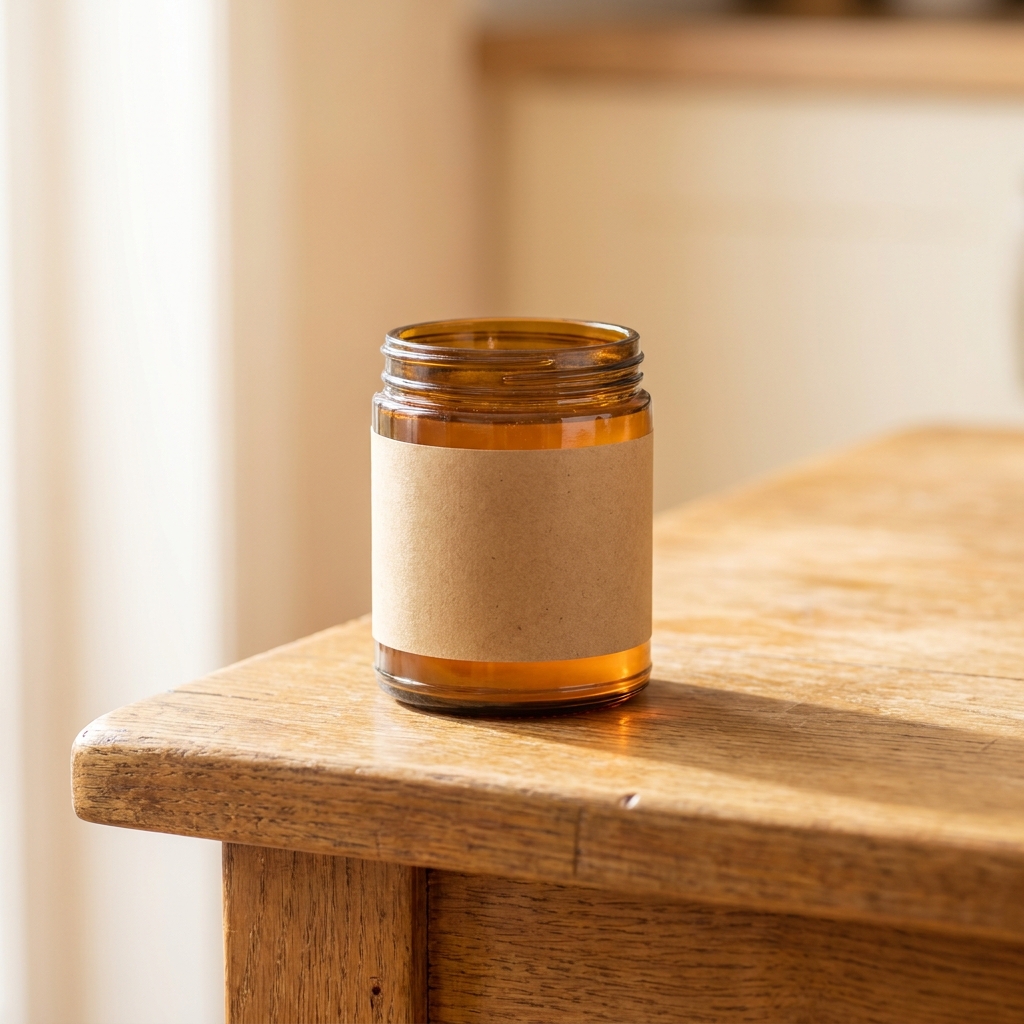
Amber glass honey jar with a blank kraft label standing on a warm oak table with visible grain
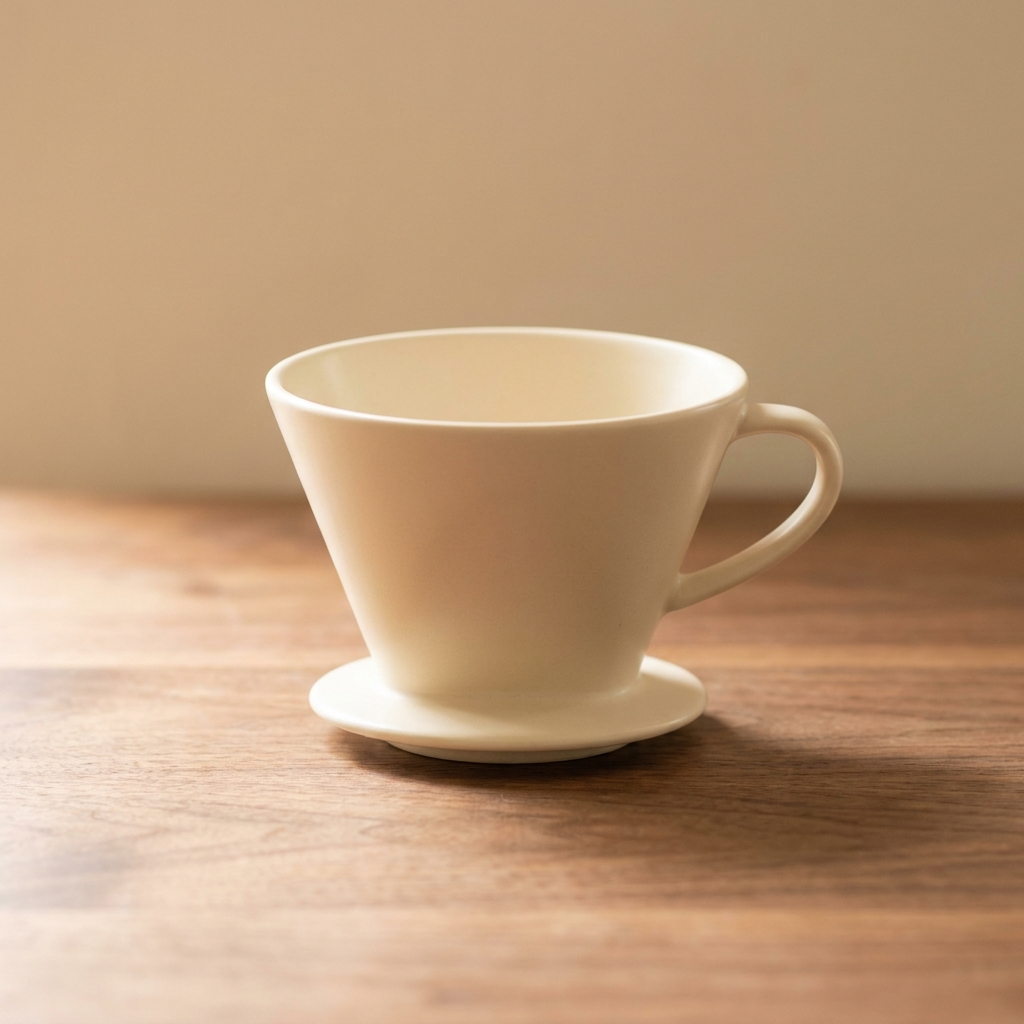
Matte cream ceramic pour-over coffee dripper resting on a walnut worktop, with the dark grain running behind it
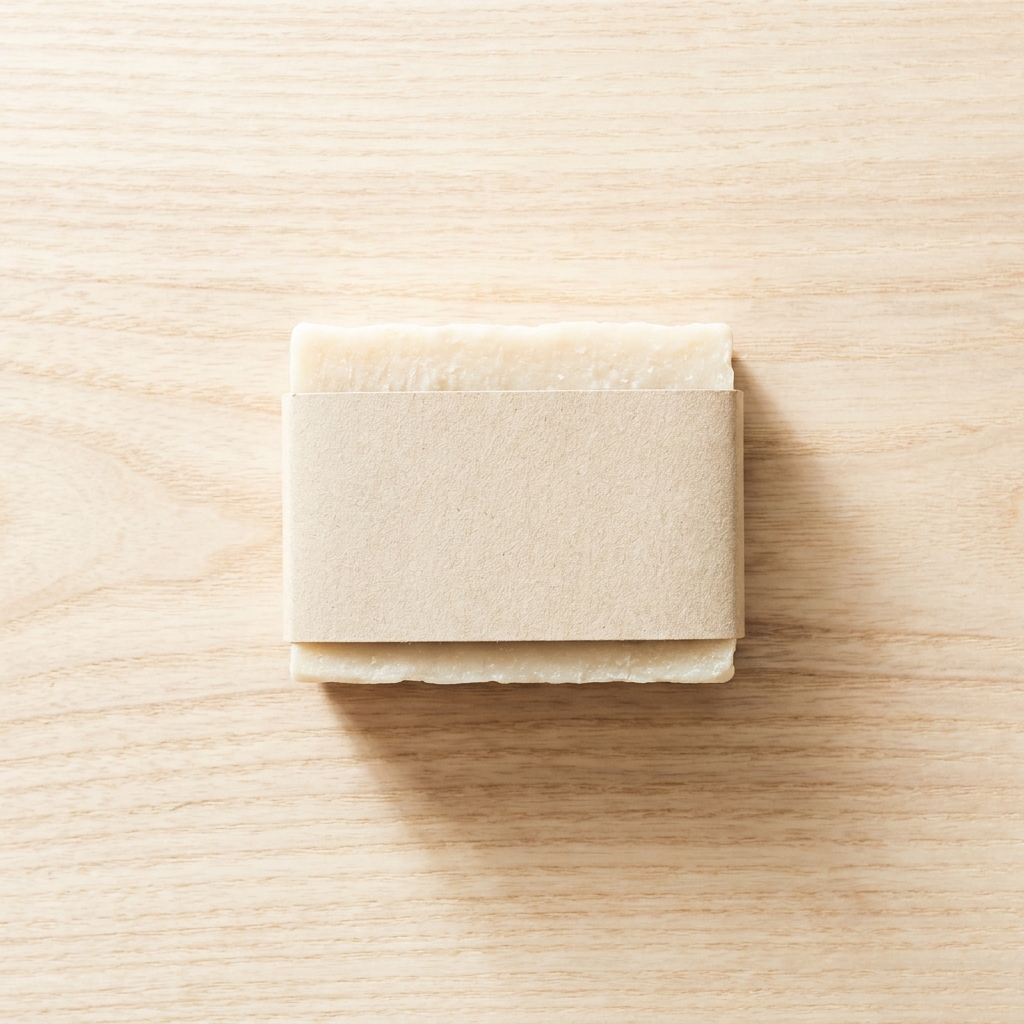
Bar of natural soap in a blank paper wrap, photographed from above on a light ash wood board

A wood product photography background is a real timber surface, usually oak, walnut or ash, placed under food, drinks, candles, soap and handmade goods. The grain reads as warm, natural and made by a person. That is why wood suits a kitchen worktop or a bathroom shelf, and why it looks like clutter under tech or medical kit. One thing decides whether the frame works, and it is the gap in lightness between the wood and the product. A tan leather wallet on mid oak loses its edges. A cream candle on pale ash does the same. Pick the species by that gap first, then by taste. Dark walnut and pale ash are the two ends you reach for when a product sits stubbornly in the middle.

The hard parts of a wood surface

Warm bounce, grain direction, tone gap and sheen decide whether the frame works.

Wood throws a warm cast

Light hits oak and bounces back orange. That bounce lands on the side of your product facing the table. A white label turns cream and a grey box turns beige. Set the white balance from a neutral grey card lying on the wood. That reading usually drops from 5500K to around 5200K, which cools the product back to true. Then add a white card on the shadow side to reflect clean light onto the product.

Grain leads the eye

Wood grain is a set of long parallel lines. The eye follows them. If the grain runs out of the corner of the frame, the viewer leaves with it. Run the grain across the frame, left to right, behind the product. The lines then act as a shelf and hold the product in place. For a tall bottle, turn the grain across the bottle, not along it. Parallel lines beside a tall shape flatten the shape.

Match the wood tone to the product

Dark walnut and a dark product merge. Pale ash and a pale product do the same. Pick the wood by the tone of what you sell. A cream ceramic dripper needs walnut. A dark green glass bottle needs light ash. Mid oak is the safe middle, but it fights beige, kraft card and tan leather. Aim for a clear step in lightness between product and table. If you squint and the edges blur, the step is too small.

Grain needs low, raking light

Flat light from the front kills grain. The wood then looks like printed paper, and the whole shot looks fake. Put the key light low and to one side, around 20 degrees above the table. The grooves in the grain fill with small shadows and the texture returns. Watch the finish too. A varnished table throws a bright hotspot back at the lens. Oiled or waxed wood holds the light and keeps the pores visible.

Tools for a wood surface

Four apps that each solve a different part of the wood shot.

Oak, walnut or ash scenes
Styled Scene Generator

Oak, walnut or ash scenes

Styled Scene Generator puts your uploaded product on the wood you name. Write the species, the finish and the grain direction, for example oiled walnut with grain running left to right. Add the light, for example soft window light from the left at a low angle. The tool builds the contact shadow where the product meets the plank, so the product sits on the table instead of floating above it.

Open the tool
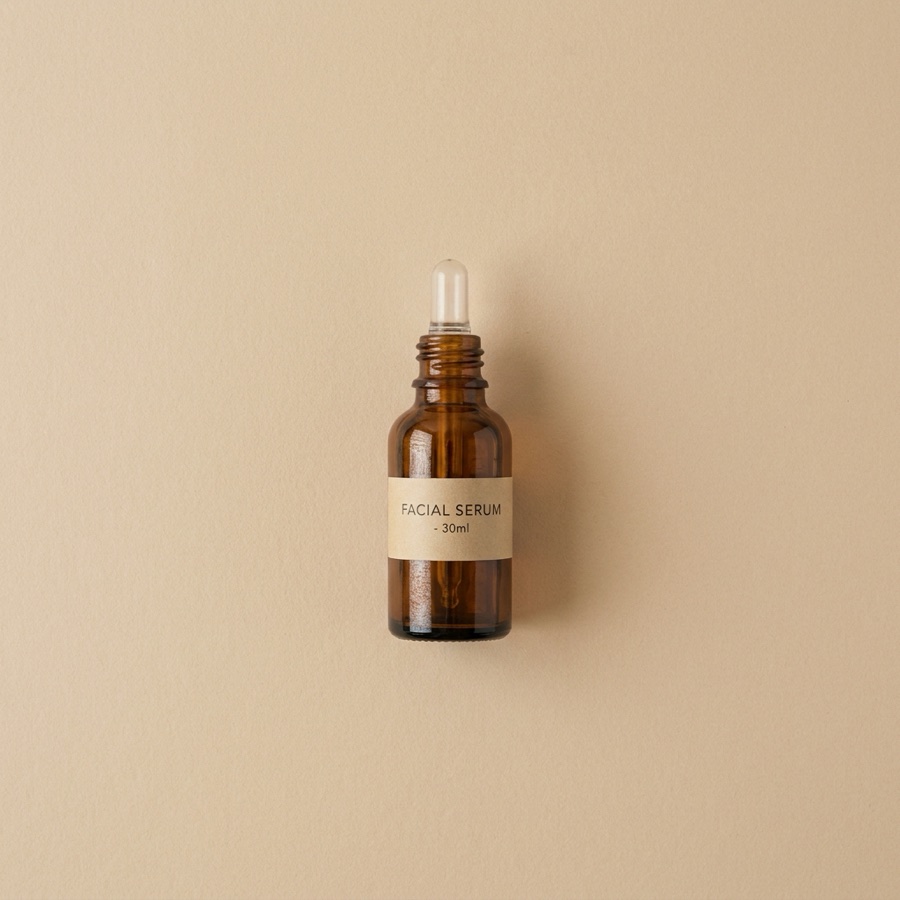
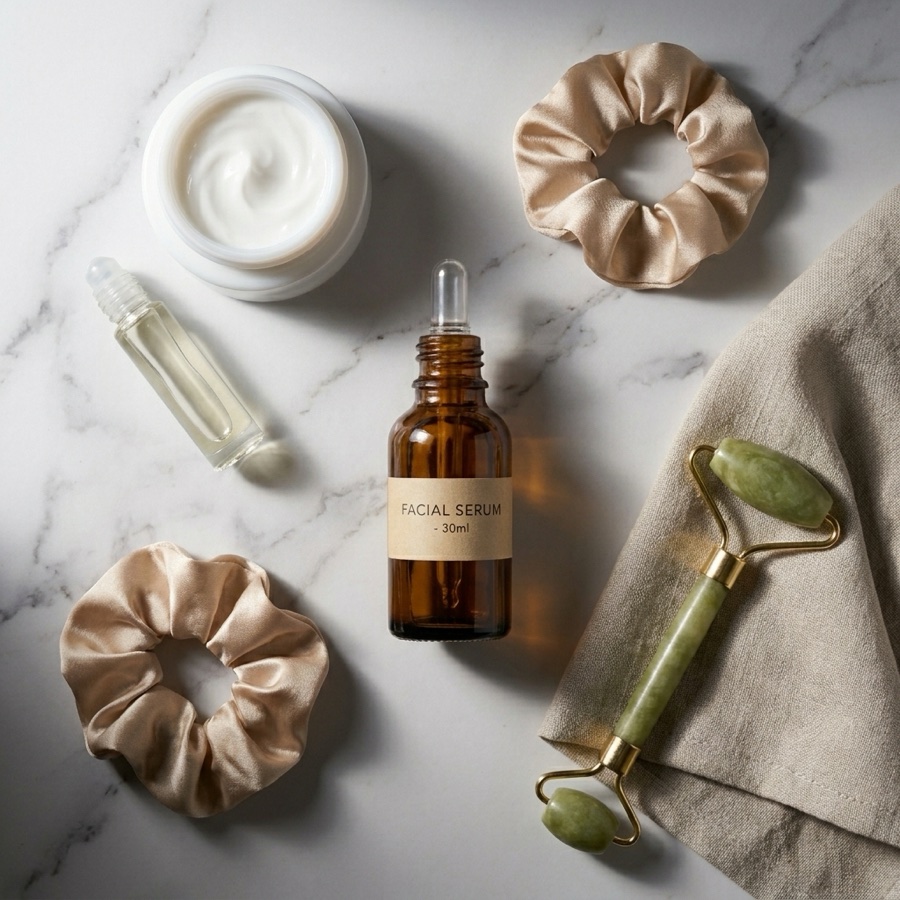
Overhead on a wood board - Before
Before
Overhead on a wood board - After
After
Flat Lay Studio

Overhead on a wood board

Flat Lay Studio shoots straight down onto the board. From above, the grain becomes the grid of the picture, so align the grain with the frame edge, not at a random angle. The app arranges props around the product, such as a linen cloth, coffee beans or dried herbs. Keep a plank seam out of the centre. A seam under the product cuts the product in half.

Open the tool
Relight your own kitchen table - Before
Before
Relight your own kitchen table - After
After
Spotlight Relight

Relight your own kitchen table

You may already have a photo shot on your own oak table. Spotlight Relight changes the light on that file without moving the product. It is on the Premium plan. Ask for a low side light so the grain gains shadow and depth. Ask for a cooler key so the warm bounce drops. This is the cheapest fix when the framing is right and only the light is flat.

Open the tool
A white file from the wood shot - Before
Before
A white file from the wood shot - After
After
Background Remover

A white file from the wood shot

Most shops want a plain white first image, and wood cannot serve that slot. Background Remover takes your best wood frame and returns two files, one on clean white and one transparent. Check the edge after the cut. Warm bounce from oak often leaves an orange rim on the product edge, and that rim is easy to see once the background is white.

Open the tool

Each before and after above demonstrates the tool named on the card, using that app's own sample image, so the subject you see may not be from this industry. Run the same tool on your own photos to see it on your work.

From product photo to wood frame

Four steps that decide the wood, the grain and the colour.

1
Pick the wood by tone
Hold your product next to three references, walnut, oak and ash. Choose the one with the biggest gap in lightness. Cream, white and pale wooden products go on walnut. Dark glass, black tins and deep green labels go on ash. Note the species, because you will name it in the prompt.
2
Describe the wood and the grain
Upload one clear photo of the product to Styled Scene Generator. Uploading your own product photo is on Pro and above. In the prompt, name four things. The species and finish, for example oiled ash. The grain direction, for example running left to right behind the product. The light, for example window light from the left, low. The camera, for example 85mm at f/4.
3
Check the neutrals for yellow
Open the result at full size. Look at the parts that should be white or grey, such as a paper label or a ceramic lid. If they read cream, run again and add neutral white balance and a white bounce card on the left. Each run costs 4 to 10 credits, so two attempts stay cheap.
4
Save the setup, then upscale
Line the four frames up side by side before you save anything. The model draws the plank again on every run, so knots, plank width and wood colour drift between frames, and the set stops reading as one table. Keep only the frames that share a board and re-run the rest. Then save that prompt, so the next jar lands on the same wood. Send the keeper to Image upscale, on the Premium plan, because fine grain is the first thing a weak enlargement smears.

Order of work

Tone comes first because no later step can fix it. If a cream jar sits on pale ash, the edges are already gone, and relighting will not restore them. The grain and the light come next, in the same prompt, because a low side light only works when the grain is aimed the right way. The colour check comes third, after the wood exists, since the warm bounce cannot be judged on a white studio frame. Saving the workflow comes last. You only want to lock a setup you have already proved, and upscaling a frame you will re-run wastes credits.

Deliverables for a wood set

Four files that prove the wood held its colour and texture.

A neutral test frame

One frame that contains something you know is white, such as a blank paper label or a plain ceramic lid. That patch is your proof. If it stays paper white while the oak stays warm, your white balance held. If it turns cream, the whole set carries a yellow tint and needs a re-run.

An overhead grain frame

One top down frame where the grain runs edge to edge across the board. This is the frame that carries the mood on a feed post. It has to show the pores of the wood at full size. If the surface reads smooth and even, the model has drawn a flat brown panel, not real timber.

A square crop for the grid

A 1:1 crop where the product still reads at 200 pixels wide. Wood is busy, and busy backgrounds eat small products. Test it by shrinking the file to thumbnail size. If the outline of the product disappears into the grain, crop tighter or move to a plainer plank.

A close crop of product and plank

One tight frame of the join, showing the last centimetre of the product and the board under it. Two things have to hold there at full size. The contact shadow must be dark and narrow at the join and then fade, or the product floats. The pores must stay visible right up to the edge, because a model that cannot draw grain hides it by blurring exactly that strip.

Model choice for wood

Wood is the surface that catches a model out on repeating detail. Grain is thousands of near identical lines, and a weak model turns them into a tiled pattern or into smooth brown plastic. FLUX draws pores, knots and end grain with enough variation that the board reads as one piece of timber, so send it the hero frame. Nano Banana Pro is the pick when the product carries small print or a fixed brand colour, because it holds your uploaded file closer while the table changes around it. That matters here more than on a plain surface, since warm bounce lands on the label, and a model that redraws the label also redraws the colour the bounce gave it. Judge the two on the label, not on the table.

Wood background questions

Six things sellers ask before shooting a product on wood.

Why does my product look yellow on a wood background?
The wood is reflecting warm light back onto it. Oak, walnut and ash all bounce long orange wavelengths, and that bounce lands on the side of the product facing the table. White paper turns cream and grey turns beige. Set the white balance from a grey card resting on the wood, which usually means dropping from about 5500K to 5200K. Then place a white bounce card on the shadow side to return clean light.
Which wood should I use for a white product?
Use walnut or another dark wood. A white or cream product needs a dark table so the edges stay visible. Pale ash under a white jar leaves both at a similar lightness, and the outline disappears at thumbnail size. Dark products flip the rule and want light ash. Mid oak is the middle ground, and it works for most colours except beige, kraft card and tan leather.
Which way should the wood grain run?
Run the grain across the frame, left to right, behind the product. Horizontal grain acts like a shelf and holds the eye inside the picture. Grain running towards a corner leads the eye out of the frame. For tall items such as bottles, keep the grain across the shape rather than along it, because parallel lines beside a tall shape make it look flat.
My wood grain repeats like wallpaper. How do I stop it?
The model is tiling one small patch of texture across the board. It shows up most in wide frames and overhead frames, where a lot of wood is on screen. Name one plank with a landmark on it, such as a single knot near the left edge and one seam. A named landmark breaks the repeat. Give a plank width too, for example boards about 12 centimetres wide. If it still tiles, crop tighter so less wood shows, or drop the light lower so the shadows vary across the surface.
Can I use a photo taken on my own kitchen table?
Yes, if the framing and focus are good. Spotlight Relight changes the light on a photo you already have, so a flat, evenly lit table can gain a low side light that returns the grain. If the table tone fights the product, that is not a light problem. In that case upload the product and rebuild the surface in Styled Scene Generator instead.
How much does a wood background set cost?
Each run costs 4 to 10 credits, and a credit is about one cent. The real cost of wood is the boards. Tone matching means you need three of them, dark walnut, mid oak and pale ash, because one plank cannot sit behind every product colour. Three good boards cost more than a year of runs, and they warp, stain and take up floor space. Plan one or two extra runs to correct the warm cast, since that is the common re-run on this surface.

The full background catalogue

The hub lists all twelve backgrounds side by side, so you can compare wood against stone, paper, linen and the rest before you shoot.

See all backgrounds

Put your product on real wood

The free plan gives you 112 credits, enough to see how oak, walnut and ash behave in a frame. Free results carry a watermark and you cannot sell with them. Any paid plan drops the watermark, and Pro and above adds the commercial licence.

Start free