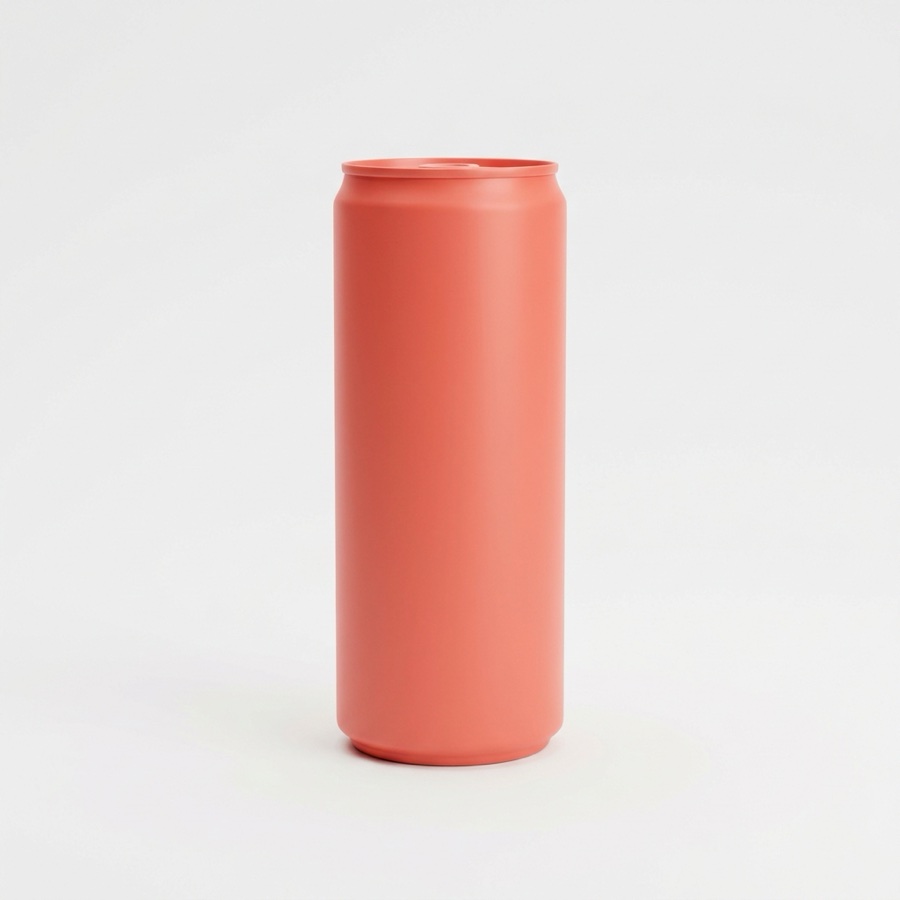
 Gradient backdrops

Gradient background product photography from one photo

Upload one photo of your product. You get a backdrop that shades smoothly from one tone to another, a soft contact shadow, and a clear area for a headline. The ramp stays even at store sizes, so no stripes appear when the file is compressed.

Start free
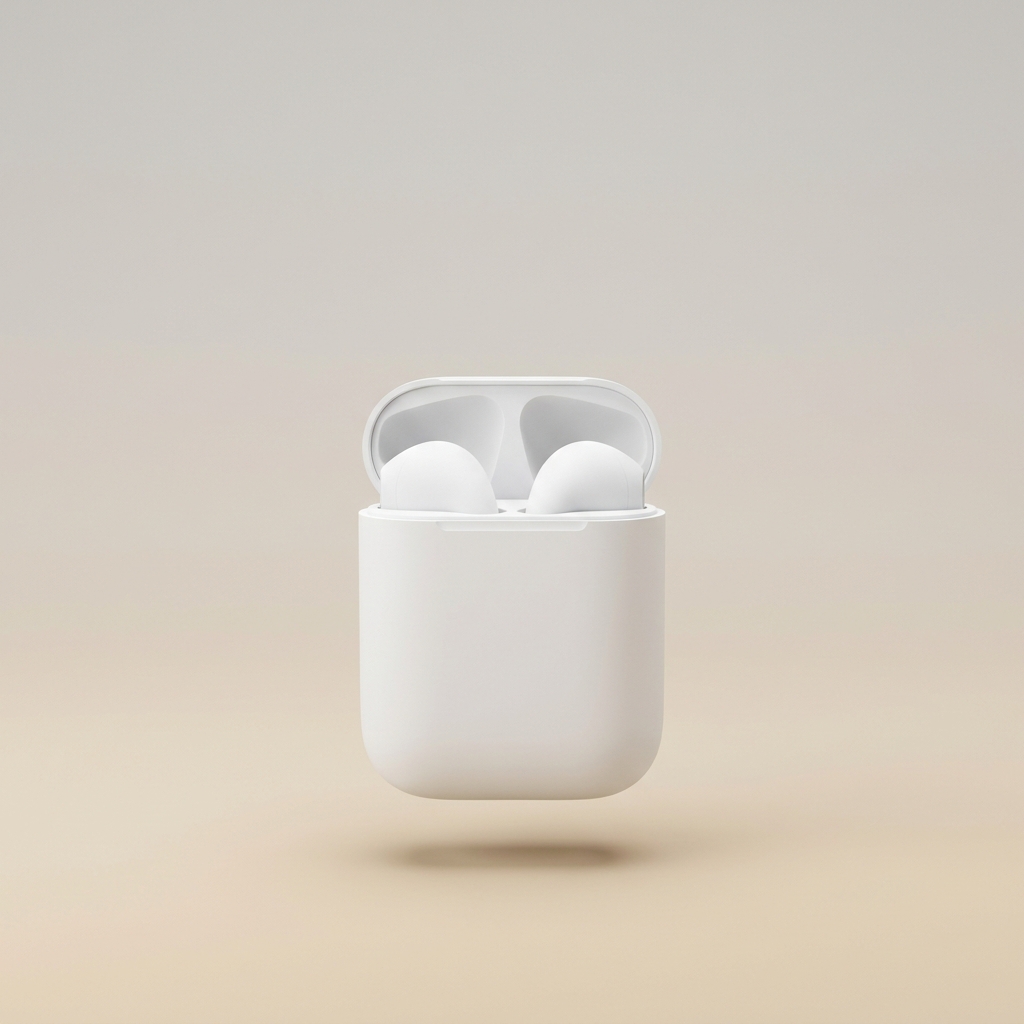
Matte white wireless earbuds in a charging case on a backdrop shading from pale warm grey down to soft sand.
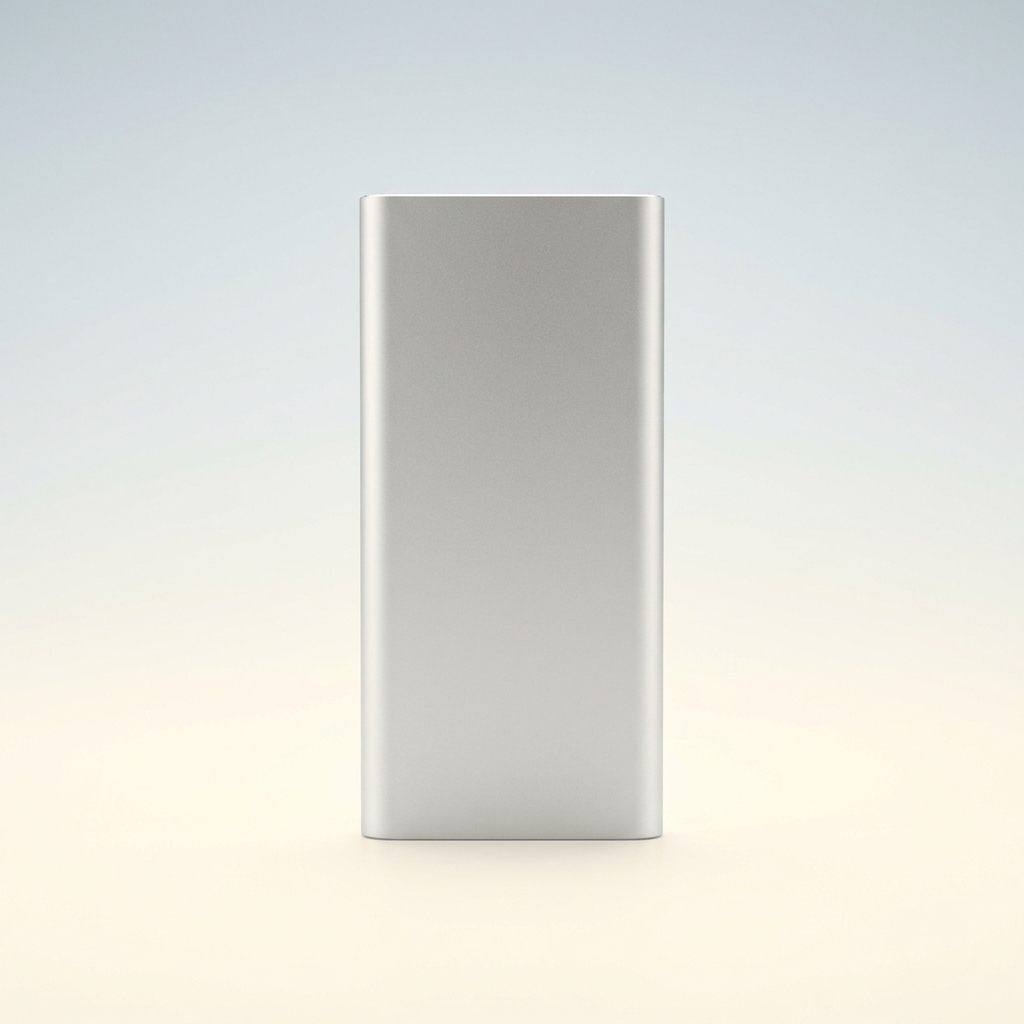
Slim silver aluminium power bank standing upright against a backdrop that shades from pale blue grey into warm ivory.
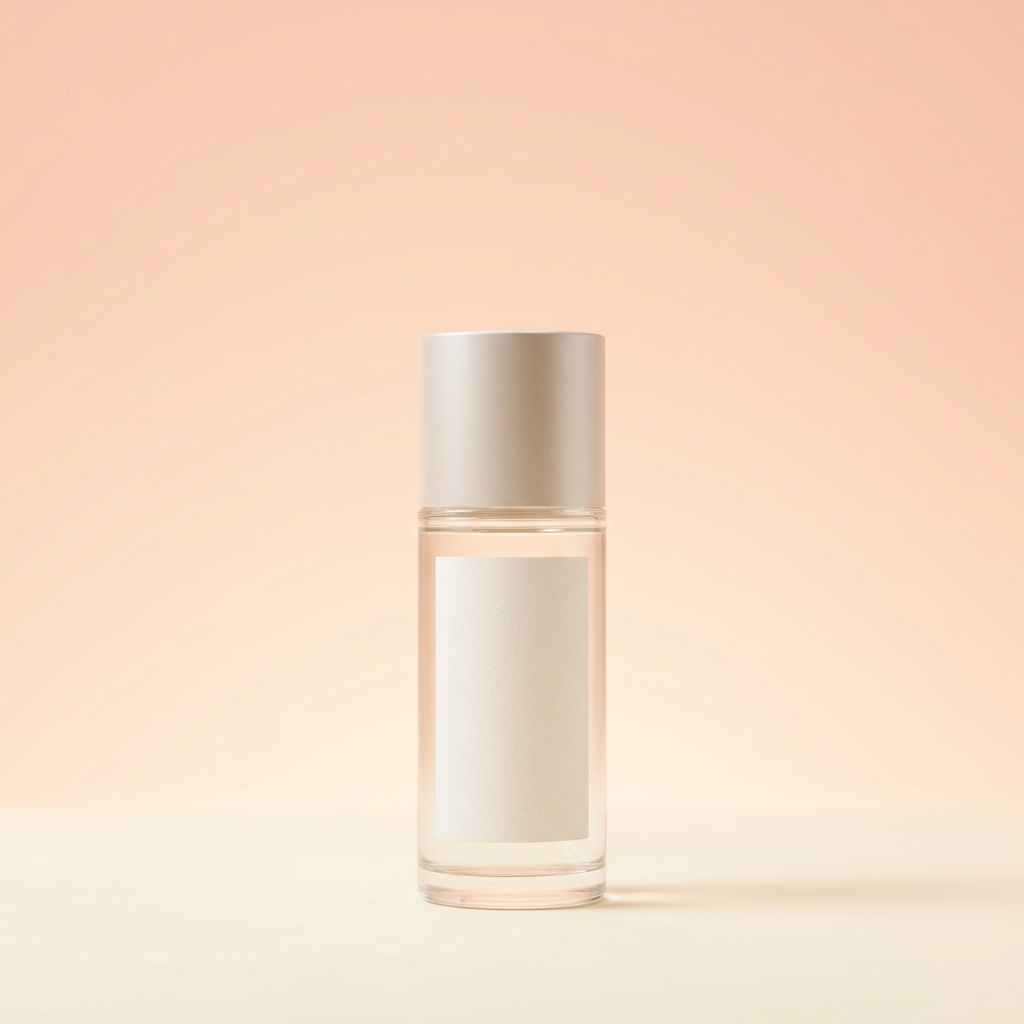
Glass cosmetic bottle with a blank label, standing on a backdrop that shades from soft peach to pale cream.

A gradient background is a studio backdrop that shades smoothly from one tone to another, with no hard edge where the two meet. The reason to reach for one is that it puts two different tones behind a single product. A light edge can sit on the darker end and a dark edge on the lighter end, so the outline holds all the way round without a rim light. That only works when the product has one clear silhouette, which is why the ramp sits well behind tech, cosmetics and glass. Put a patterned tin or a cluster of small parts on the same ramp and the moving tone fights the detail, because the eye is already tracking two changes at once.

Craft problems on a gradient backdrop

Four things that go wrong on a smooth ramp, and the fix.

Banding across the ramp

A long, smooth tone change is the hardest thing for an 8-bit JPEG to hold. The file rounds nearby values to the same number, so the ramp breaks into visible stripes. Keep the change gentle across the frame, add a light grain, and export at high quality. Check the file at full width on a phone, not only in the editor, because stripes appear most on bright screens.

Ramp direction against the product

The ramp has a light end and a dark end. If the dark end sits behind the dark part of your product, that edge disappears. Run the ramp the other way. A silver power bank is bright at the top and shaded at the base, so put the darker tone high and the lighter tone low. Look at the shot in black and white to check the edge still reads.

A flat area for the headline

Text on a ramp changes contrast from one line to the next. The top of a headline can pass 4.5:1 while the bottom fails it. Pick the flattest part of the ramp for text and hold the tone steady across that block. Remember the crop moves it. A 4:5 frame cut to 1:1 loses one end of the ramp, so the text area shifts.

Colour cast on white and metal

A warm ramp throws colour back onto the product. Peach to cream turns matte white earbuds slightly pink, and it lays a warm line down brushed aluminium. For white or silver goods, pick a near neutral ramp such as pale grey to sand. Then sample the white part of the product. Red, green and blue should sit within about five points of each other.

Tools for a gradient set

Four apps that build, clean, relight and place a gradient frame.

Describe the two end tones
Styled Scene Generator

Describe the two end tones

Styled Scene Generator places your product on a described backdrop, so you can name both ends of the ramp in words. Write the start tone, the end tone and the direction, for example pale blue grey at the top down to warm ivory. Run it again with the ends swapped and compare which one separates the product better.

Open the tool
Cut out before the ramp - Before
Before
Cut out before the ramp - After
After
Background Remover

Cut out before the ramp

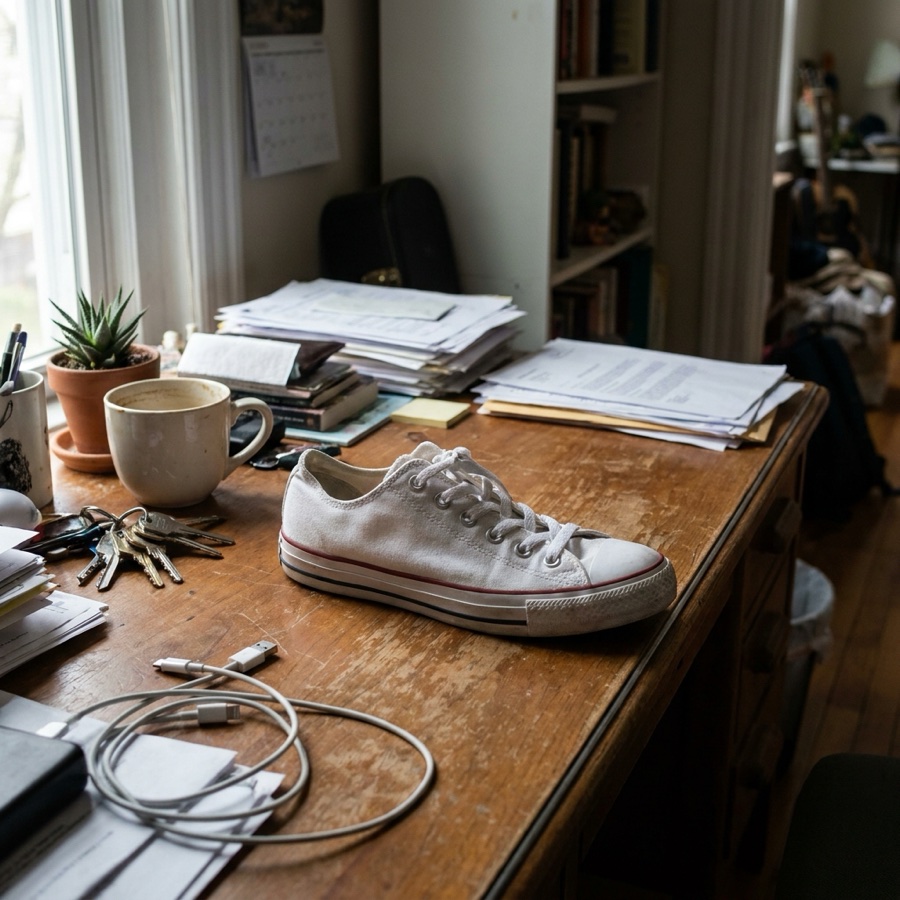
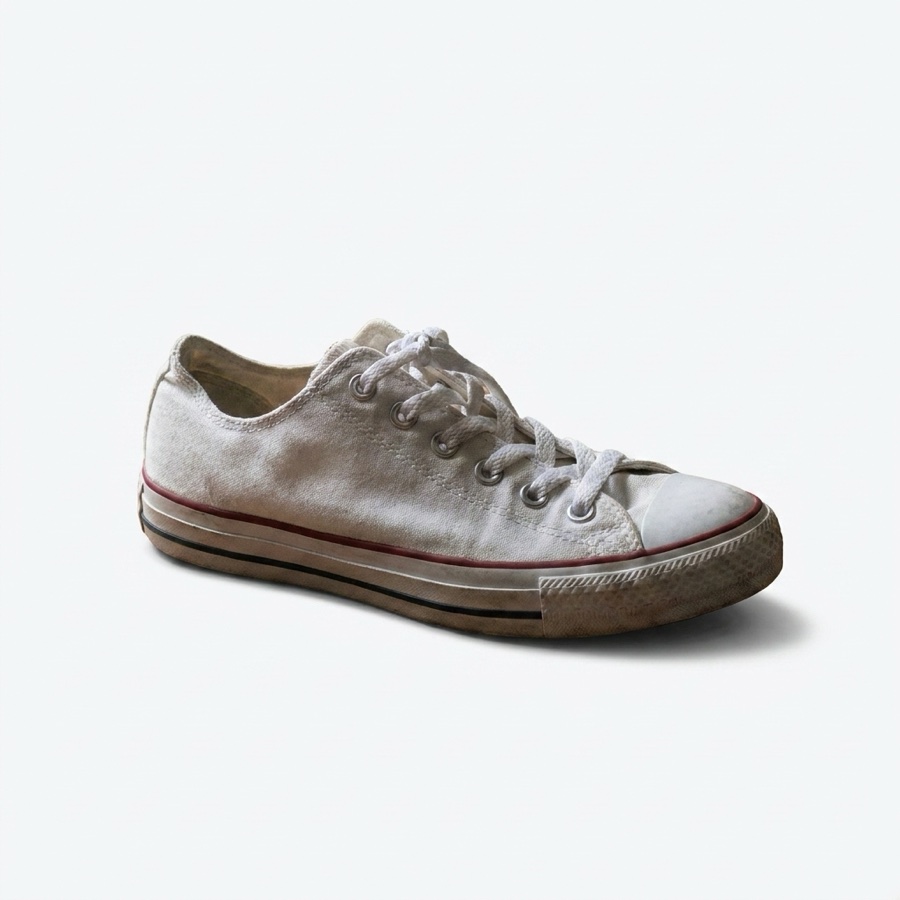
Background Remover cuts the product out and returns a clean white file and a transparent file. Start there. A transparent cut-out drops onto any ramp without dragging old backdrop colour into the new one, which matters most on a gradient because a stray edge tint reads as a band. Keep that transparent file. When you change the two end tones later, you drop the same cut-out on the new ramp instead of building the shot again.

Open the tool
Match the light to the ramp - Before
Before
Match the light to the ramp - After
After
Spotlight Relight

Match the light to the ramp

Spotlight Relight changes the lighting on a photo you already have, and it is on Premium. Use it when the product looks lit from one side while the backdrop shades from the other, which reads as wrong at a glance. Set the key light on the same side as the light end of the ramp. The contact shadow then falls towards the dark end and the frame settles.

Open the tool
Put the headline on the flat end - Before
Before
Put the headline on the flat end - After
After
Product Ad Generator

Put the headline on the flat end

Product Ad Generator places a finished product into an ad layout with room for a headline and a price. On a gradient this is the step that uses the flat part of the ramp. Point the layout at the calm end, keep the product on the busy end, and the text stays readable without a box behind it.

Open the tool

Each before and after above demonstrates the tool named on the card, using that app's own sample image, so the subject you see may not be from this industry. Run the same tool on your own photos to see it on your work.

Steps to a gradient frame

From one product photo to a set with room for text.

1
Upload one clean product photo
Shoot or upload one sharp photo of the real product. Uploading your own product photo is on Pro and above. Any backdrop will do at this stage. Run Background Remover first so you hold a transparent file. A soft or fringed cut edge keeps the old backdrop colour, and on a smooth ramp that fringe reads as a hard line.
2
Name both end tones and the direction
In Styled Scene Generator, write the two tones and where each one sits. For example, pale warm grey at the top down to soft sand at the base. Then check the product against each end. Light product parts belong on the dark end of the ramp, dark parts on the light end.
3
Check the ramp at export size
Export the frame and open it at full width. Look along the ramp for stripes, then look again on a phone at full brightness. If bands appear, add a small amount of grain or send the frame through Image upscale to 4K, which is on Premium. More pixels spread the same tone change over more steps.
4
Reserve the text area and save it
Place the headline on the flattest part of the ramp in Product Ad Generator, then measure the contrast under its last line, not its first. Now crop the frame to every ratio your channels ask for, because a square crop cuts one end off the ramp and moves the calm area with it. Export once, at the highest quality your export panel offers. A ramp loses tone steps on every save, so a second export is where the stripes come back.

Order of work

Cut the product out first. On a flat backdrop a slightly rough edge hides, but on a ramp the tone behind the edge keeps changing, so any leftover fringe reads as a line. Set the ramp direction second, before you touch the lighting, because relighting cannot rescue a ramp that runs the same way as the product's own tones. Check for banding third, at the size the file will be seen, since compression damage appears at export and not in the editor. Place the headline last, once the ramp is fixed, because moving the ramp moves the flat area the text needs.

Files in a finished gradient set

Four outputs to check before the set goes to your store.

A ramp with no visible bands

Open the exported JPEG at 100 percent and drag your eye along the longest part of the ramp. You should see one continuous change, not steps. Test the same file after your store's own compression, because a second save can make the stripes return on a ramp that looked clean.

A text area with measured contrast

Sample the backdrop tone at the top and at the bottom of the headline block. Both readings must clear 4.5:1 against your text colour. If only one passes, move the block towards the flatter end of the ramp or shorten it to two lines.

The same ramp across the set

Put every frame of the set side by side at thumbnail size. The end tones and the direction should match on all of them. One shot with the light end at the top and the rest with it at the base makes a grid look careless, even when each frame is good alone.

A plain white file beside it

Keep the clean white cut-out from Background Remover next to every gradient frame. Most stores want a plain white main image, and a ramp will not pass that rule. The gradient version then works for the second image, the ad and the feed post.

Model choice for a smooth ramp

A gradient asks one hard thing of a model. It has to hold a long tone change with no step in it, while keeping the product's own colour steady against a backdrop that sits close to that colour. Nano Banana Pro is the safer first run, because it holds the real shape and colour of a product while the tone behind it moves, and a close-toned ramp is exactly where that slips. FLUX is worth the second run when the ramp has to work against the product's own light, since it follows a described light direction more closely. Build the same product on both, then open the two files in black and white. Keep the one where the outline survives.

Gradient background questions

Six questions sellers ask before they build a gradient set.

What is a gradient background in product photography?
A gradient background is a studio backdrop whose tone shades smoothly from one value to another across the frame. It is usually two close tones, such as pale blue grey into warm ivory, with no hard edge between them. Photographers use it to separate a simple product from the wall and to leave one calm area for text. It suits tech, cosmetics and glass. It works poorly behind busy or patterned goods.
Why does my gradient background show stripes?
Stripes are banding, and they happen when the file has too few tone steps. An 8-bit JPEG holds 256 levels per channel. A long, gentle ramp asks for more than that, so nearby values round to the same number and form flat strips. Fix it three ways. Add a small amount of grain, raise the export quality, and upscale the frame to 4K so the same change spreads over more pixels.
Which way should the gradient run behind my product?
Run it opposite to the product's own tones. If the product is bright at the top and dark at the base, put the dark end of the ramp at the top and the light end at the base. That keeps a visible edge all the way round. The quick test is to convert the shot to black and white. If any part of the outline disappears, flip the ramp and run it again.
Should the gradient use my brand colours?
You can, but keep the two tones close together and low in saturation. A strong brand colour throws itself back onto the product, and on white or silver goods that shows up as a tint you did not choose. The steadier pattern is a near neutral ramp behind the product, with the brand colour held back for the headline and the button. If you do want brand colour in the backdrop, put the saturated end away from the product, and test it on your palest item first. That is the one that will pick the colour up.
How do I keep the same gradient across a whole catalogue?
Save the setup once in Workflows and rerun it for every new product. A workflow holds the two end tones, the direction, the crop and the model, so product 90 lands on the same backdrop as product one. Without that, small prompt changes drift and a grid of thumbnails looks uneven. Check a sample of ten thumbnails side by side after every batch.
How much does a gradient background set cost?
In credits it is small. A run costs about 4 to 10 credits, and a gradient needs more runs than a flat backdrop, because you build the ramp both ways and keep the better one. Budget about four runs per product rather than one. The real cost of this backdrop sits in the room. A wall that shades needs a second light aimed only at the backdrop, roughly a metre of space behind the product so the light can fall off, and a flag so none of it spills onto the front. Hiring a space with that much depth is the expensive part.

All twelve backdrops

The hub lists all twelve product photo backgrounds side by side, so you can compare them before you pick one.

See all backgrounds

Put your product on a gradient

The free plan gives you 112 credits, so you can build a ramp and see how it holds. Free frames carry a watermark. From Pro you can load your own product and sell what comes out of it.

Start free